Read the post in:
 English
由堅果底層、自然蜜甜焦糖餡,還有綿潤的椰奶鮮奶油組成,這個全素香蕉太妃派是我目前吃過最棒的甜點之一! 而且它不需烘烤,無蛋奶的它也僅需 10 樣食材。
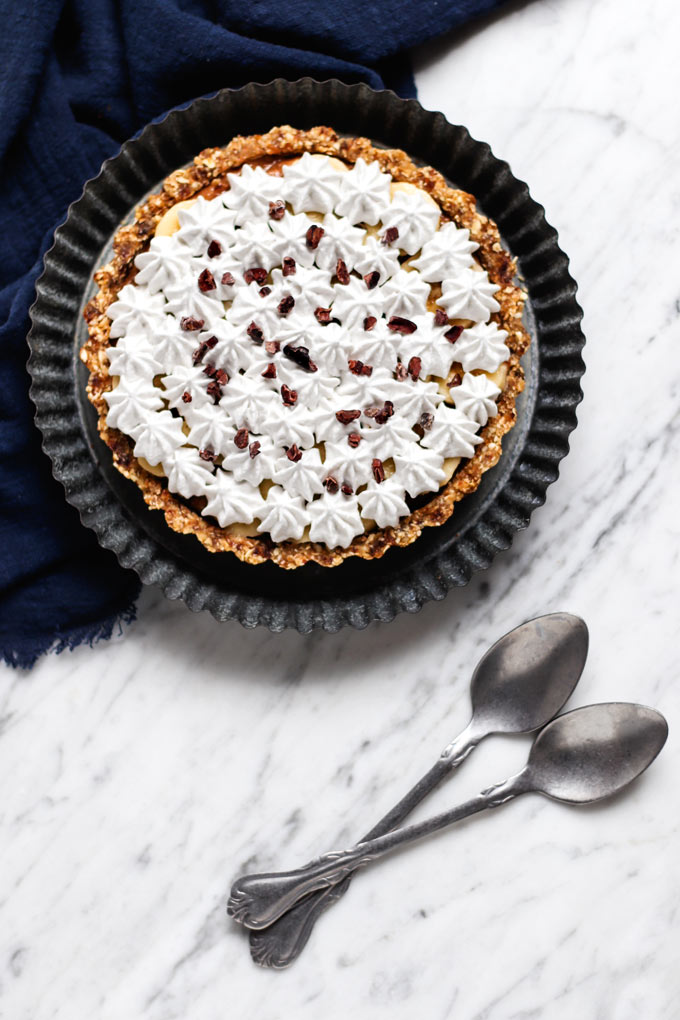
全素免烤香蕉太妃派
Vegan No-Bake Banoffee Pie
香蕉太妃派 (Banoffee Pie) 是一道經典的英式甜派,在國外還滿流行的,有趣的是在台灣這香蕉生產大國卻似乎很少見,至少住在北部的我是這麼覺得。
喜歡甜點的我,覺得當然不能錯過這一道傳統英國甜點,不過傳統的香蕉太妃派有含動物性製品 (動物性鮮奶油或奶油),當然這裡不會出現,就要來把它製作成 Vegan 版本啦。想先說,它真的很美味!
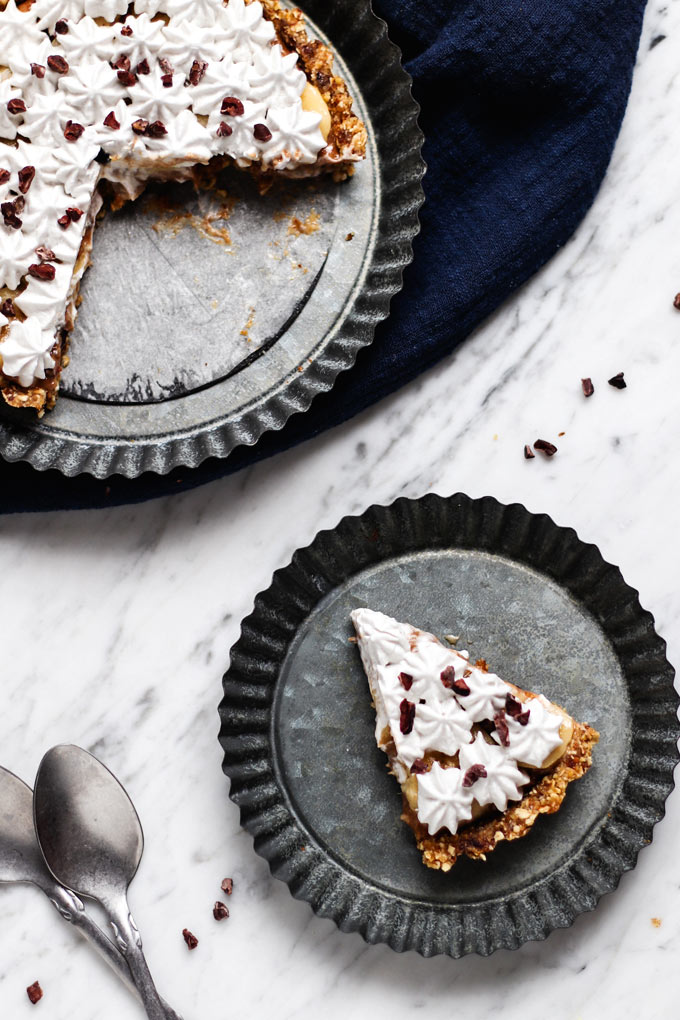
無蛋奶、免烤
香蕉太妃派主要分成三層:底層派皮 + 太妃焦糖層 + 香蕉 + 表層鮮奶油。傳統的食譜中有使用常見的糕點食材:雞蛋、奶油、麵粉、鮮奶油製作,但這次不是要做普通的,而是要做都沒有以上提到的食材所製作的全素香蕉太妃派。它不僅沒有動物性食材,而且也沒有麵粉、無糖、不用烘烤!
雖然沒有一般甜點會使用的食材,但利用堅果、椰棗與椰糖天然的滋味,也能結合創造出這一道美味的甜點!
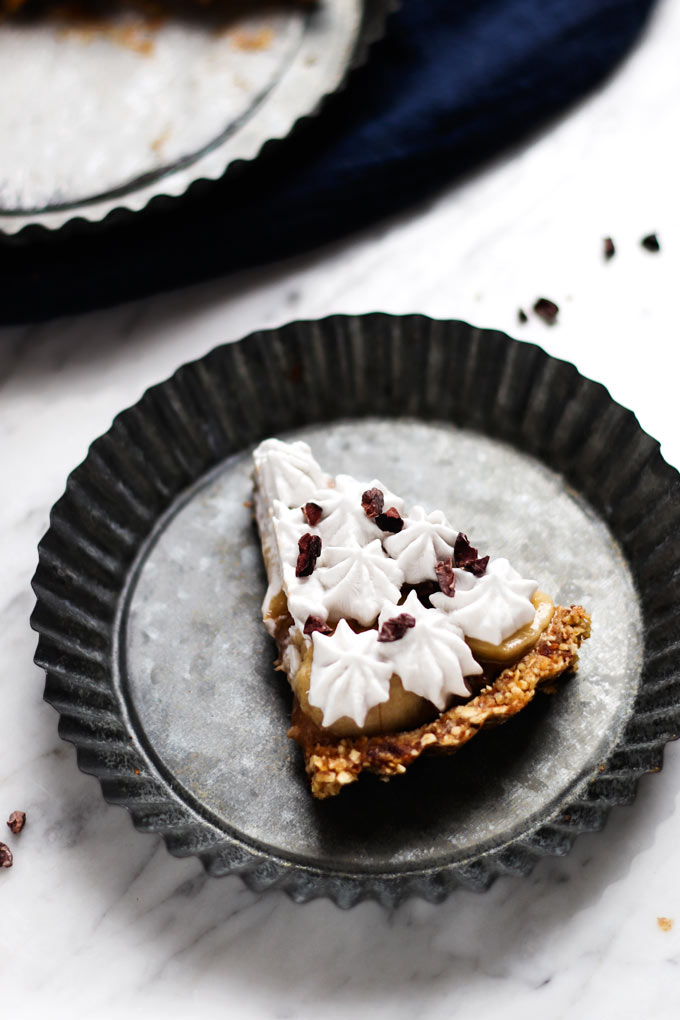
「椰奶鮮奶油」 Coconut Cream
最上層是使用椰奶製成的「椰奶鮮奶油」(Coconut Cream),綿潤的程度與口感可不輸一般的動物性鮮奶油。
「無糖焦糖層」 “Sugar-Free” Caramel
經典的英國香蕉太妃派中間的焦糖層是利用煉乳製作,這次製作的是「無糖焦糖層」,完全沒有加糖,是利用椰棗的天然蜜甜味加上濃郁的杏仁醬 (食譜:自製杏仁醬)來完成;
中間的「無糖焦糖層」有點類似先前製作的「全素百萬富翁酥餅」裡頭的焦糖層,但有稍微調整食材與比例,讓這個焦糖醬層從冷凍直接拿出來吃也不會太硬,也讓整個派能直接快速享用!
這個濃郁的”無糖”焦糖層就是讓我深深著迷的重要角色,我故意有做得流動性偏高一些,若有多的,也可以拿來直接當焦糖醬沾取享用。
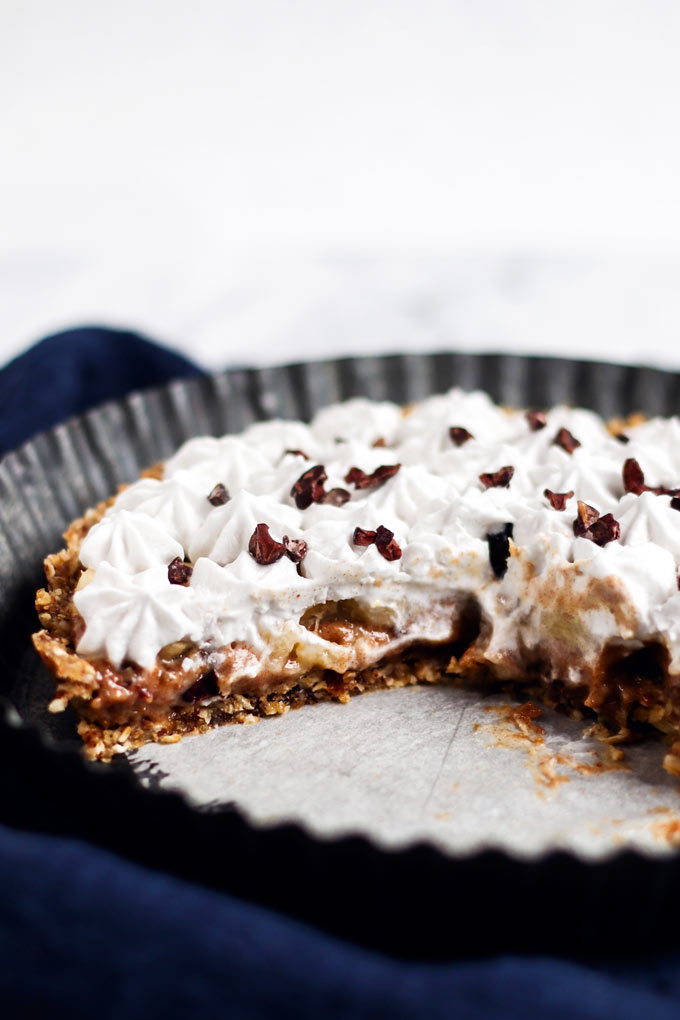
充滿堅果滋味的餅底,加上濃郁帶著蜜甜味的焦糖層,加上香蕉切片與打發的椰奶鮮奶油,最後表面我加了一點可可碎仁點綴,除了更好看外,也增加一點苦味,讓整體吃起來不會太過甜膩。這個純素香蕉太妃派讓我深深著迷,一吃就會不想停下來呢!
製作這個香蕉太妃派並不難,你只要有一台食物處理機和打蛋器,一切好辦事!只是因為分比較多層,所以要花點時間製作與凝固。

步驟 1:用食物處理機製作底層
先把椰棗切細碎,再加入其它食材一同攪打成團,視情況添加一點飲用水。
將攪打好的底層鋪入模具底層,用刮刀壓實壓緊,放入冰箱冷凍備用
椰棗製作的太妃焦糖層上頭鋪滿滿的香蕉切片,放好放滿! 接著就送進冰庫約 15 分鐘。
步驟 2:製作焦糖層
將去籽椰棗乾放入食物處理機或調理機中攪打細碎,再放入其它食材一同攪打混合均勻,若空轉,停下來做刮杯的動作。這個步驟我習慣用食物處理機,因為這樣不需要多洗一個器具。
焦糖層會偏水液狀態,送進凍庫 15 分鐘,讓它凝固一些。
步驟 3:把香蕉切片,放到焦糖層上
這個步驟應該很簡明吧?
步驟 4:打椰奶鮮奶油
先提醒,要先將全脂椰奶罐頭冷藏一晚,要使用前再從冰箱取出,挖取上層較濃稠的部份,攪打成膨發的鮮奶油。
你可以用手持攪拌器、鮮奶油發泡器,或是食物處理機有打發配件的。我過去是用電動手持攪拌器,但在我買了新的食物處理機 Magimix 後,我就都用它打了,也讓整個速度更快、流程更簡單。
之後將打發的椰奶鮮奶油放入裝花嘴的擠花袋中,擠於香蕉片上,再放回冷凍庫讓它冰一下就可以享用了!

這是其中一個很好厲害台灣美味的水果:香蕉的食譜,如果你對更多香蕉食譜興趣,可以試試我的 全素香蕉瑪芬、全素香蕉核蛋糕,還有 巧克力香蕉冰淇淋。這個純素香蕉太妃派我真的真的很愛! 動手做做看吧! Let’s do this!
全素香蕉太妃派 (免烤) Vegan Banoffee Pie (No-Bake)
食材
For the Base 底層
- 25 g whole almonds 杏仁
- 35 g walnuts 核桃
- 25 g rolled oats 傳統燕麥片
- 30 g pitted dates 去籽椰棗乾
- 1/2 tsp vanilla extract 純香草精
- A pinch of salt 鹽
- drinking water 飲用水, add if needed 適量
For the Toffee Caramel Layer 太妃焦糖層
- 2 Tbsp full-fat coconut milk 全脂椰奶
- 70 g pitted dates 去籽椰棗乾
- 25 g almond butter 杏仁醬
- 2 Tbsp drinking water 飲用水
- 1/2 tsp vanilla extract 純香草精
- A pinch of salt 鹽
- 1 large banana 香蕉
For the Whipped Coconut Cream 椰奶鮮奶油層
- 1 can (400 ml) full-fat coconut milk 全脂椰奶, refrigerated overnight and scoop out the "coconut cream" on top (about 200 ml) to use* 1 罐 400 ml, 冷藏後取上層凝固部份 約 200 ml*
- 1/2 tsp vanilla extract 純香草精
- A handful of cacao nibs 可可碎豆, to decorate
作法
- Refrigerate the full-fat coconut milk overnight.
- Line the bottom of a 6″ pie pan or cake pan.
To make the Base:
- Blitz the pitted dates in a food processor, then add almonds, walnuts, rolled oats, vanilla, and salt. Continue to process until you get a crumbly texture. Add a dash of water to bring them together if needed.
- Press the base mixture into the bottom of the pan. Use a spoon press it down firmly. Put it into the freezer while we make the toffee layer.
To make the Toffee Caramel layer:
- Chop the pitted dates in a food processor, then add other ingredients and blend until smooth. Stop and scrape down the sides if needed.
- Spread the caramel onto the base. Return to the freezer for another 15 minutes to let the caramel set a little.
- Peel and cut the banana into “coins.” Place the banana slices onto the caramel layer, from the outside inwards. Return to the freezer while we make the coconut cream.
To make the Whipped Coconut Cream:
- Use a and mixer to whip the coconut cream and vanilla extract until it becomes stiff. Use an ice-bath if it's a hot day.
- Transfer the whipped coconut cream to a pastry bag with a decorating tip. Starting from outside inwards, pipe the cream onto the banana slices layer. Then freezer for another 15-20 minutes to let the coconut cream set.
- Remove from the mold, slice, and enjoy. Sprinkle some cacao nibs or chopped chocolate as you like.
中文版
- 將全脂椰奶冷藏一晚
- 取一 6 吋圓模或派盤,模具底層鋪烘焙紙
製作底層:
- 將去籽椰棗乾先放入食物處理機中攪打分解,再放入杏仁、核桃、燕麥片、香草精、鹽,攪打均勻,視情況加入適量飲用水,攪打至可捏成團
- 將攪打好的底層鋪入模具底層,用刮刀壓實壓緊,放入冰箱冷凍備用
製作焦糖層:
- 先將去籽椰棗乾放入食物處理機中攪打細碎,再放入其它食材一同攪打混合均勻,若空轉,停下來做刮杯的動作
- 將攪打滑順的焦糖鋪於先前置於冷凍的底層上,鋪平後再放入冰箱冷凍 15 分鐘,讓焦糖層稍凝固
- 將新鮮香蕉剝皮、切片 (像錢幣形狀),由外圈向內圈,將香蕉切片鋪於焦糖層上擺滿一層,再放回冷凍庫備用
製作椰奶鮮奶油層:
- 將椰奶奶脂與香草精用電動打蛋器打至硬挺 (若天氣熱,在下頭墊冰塊)
- 將打發的椰奶鮮奶油放入裝花嘴的擠花袋中,由外圈向內圈,擠於香蕉切片上,再冷凍 15 – 20 分鐘讓它定型
- 取出脫模切塊即可享用,最後表面可以再加些巧克力碎仁點綴
Video
備註
- 椰奶罐中剩下的主要是椰子水,可以直接飲用,也可以用果昔碗或其它食譜
- 剩下的派密封冷凍保存,約可放 3 – 4 個星期
- The leftover in the coconut can is mainly coconut water. You can drink it or use it in your smoothie or other recipes.
- Store the leftover in the freezer for 3 – 4 weeks.


