製作日:2016/11/24
有時候真的很想吃這種 巧克力花生棒,但是看到市售的大多都有很多添加物與一般的油脂,常常拿起來看到成份就又放回去,於是就想自己做。前陣子看到了一個全素健康版Twix的食譜(英文),就稍微調整了一下食譜,用手邊有的食材,做成這個自己非常愛、很滿意的健康版巧克力花生棒。
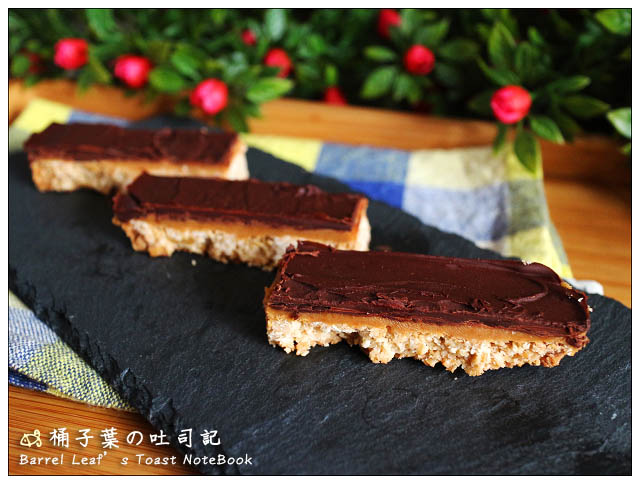
切的時候會掉一些屑屑在所難免,但也是它有厚度與酥度的證明~
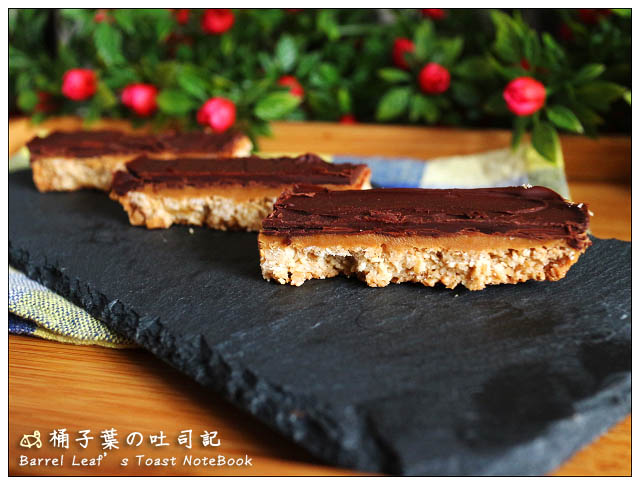
側面可以看到明顯的分層:
苦甜 巧克力淋面
+
濃郁 花生醬層
+
酥脆 燕麥酥餅層
這樣一提還真感覺是三樣我好愛的食材的結合體~(笑)

吃的到巧克力的苦甜、花生醬的濃郁、底層燕麥餅的酥脆與厚實口感。使用的都是天然、自己熟悉的食材,比市售的更健康,同樣滿足!
Bittersweet dark chocoalte topping
+
Creamy & rich peanut butter layer
+
Crunchy oatmeal coconut crust
Oh Yeah!
(※ 引用食譜煩請註明出處與原文網址.勿拿此食譜行商業行為 ※)
全素巧克力花生棒 (無麵粉)
Vegan Chocolate Peanut Butter Bars (Gluten-Free)
- 參考改自 Adapted from:Blissful Basil-HOMEMADE TWIX BARS
- 特別器具:
- 一個平底烤盤 (此次使用35*25*高 1.5 cm 烤盤)
- 一台食物處理機
- A baking tray (Mine is 35*25*1.5 cm)
- A food processor
- 食材 Ingredients
- 底層脆餅 for the Crust
- 燕麥片 rolled oats 110 g
- 乾燥椰子粉 desiccated coconut 5 Tbs
- 椰子油 coconut oil 4 Tbs
- 楓糖漿 maple syrup 4 Tbs
- 香草精 vanilla extract 1 tsp
- 海鹽 pinch of sea salt 1 小撮
- 花生醬層 for the peanut butter layer
- *花生醬 peanut butter 4 Tbs
- 楓糖漿 maple syrup 2 Tbs
- 椰子油 coconut oil 2 Tbs
- 香草精 vanilla extract 1 tsp
- 海鹽 pinch of sea salt 1小撮
- 巧克力層 for the chocolate topping:
- *黑巧克力 70% dark chocolate 100 g
- 海鹽 1小撮 pinch of sea salt
- 底層脆餅 for the Crust
- PS.
- *我是用滑順的花生醬,也可以用有顆粒的,或是換成其它堅果醬(如杏仁醬)替代*黑巧克力我是用70%的,可以用自己喜歡的巧克力
- * I use creamy/smooth peanut butter. Crunchy ones can also be used in this recipe. Other nut butters also work.
- *I use 70% dark chocolate for topping. You can use any type of chocolate that you like.
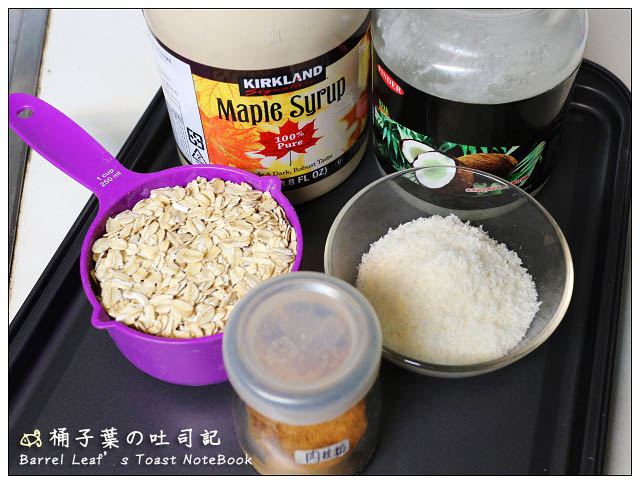
- 準備工作 Preparation
- 食材秤量好
- 烤箱以 170°C 預熱
- 作法/步驟 Step:
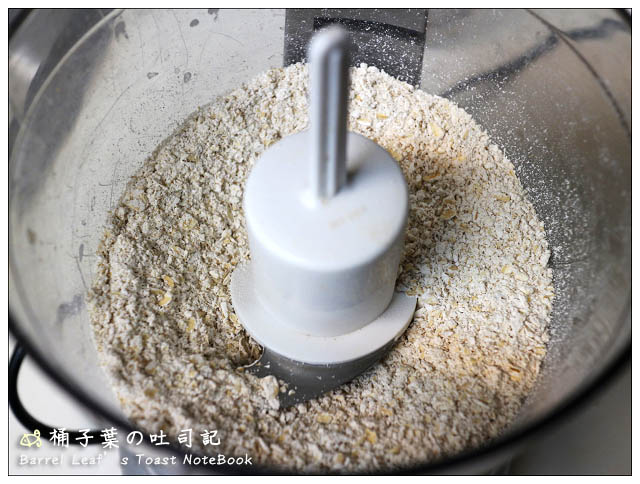
1.先製作底層:將燕麥片放到食物處理機中,打成細碎近粉的樣子
For the crust: put rolled oats to a food processor and process until they become powdery.
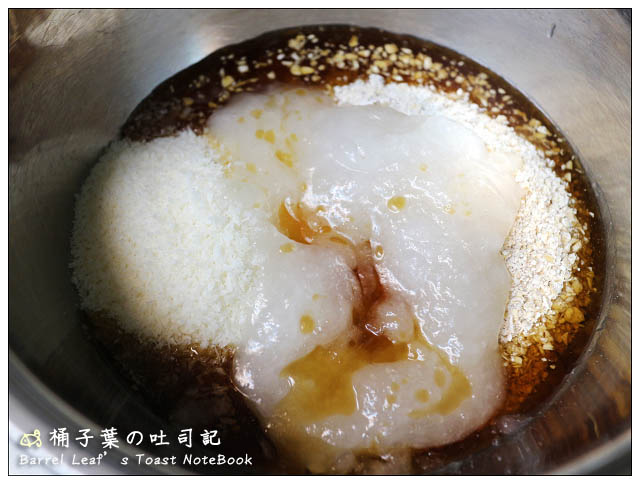
2.將燕麥片倒到乾淨盆中,加入底層脆餅的剩餘食材 (椰子粉 椰子油、楓糖漿、香草精、海鹽)混合均勻。如果椰子油呈固態,記得先融化。
Transfer the oat flour to a bowl and add in other ingredients (for the crust). Mix with a spatula until all are well incorporated. Melt your coconut oil if it becomes solid.
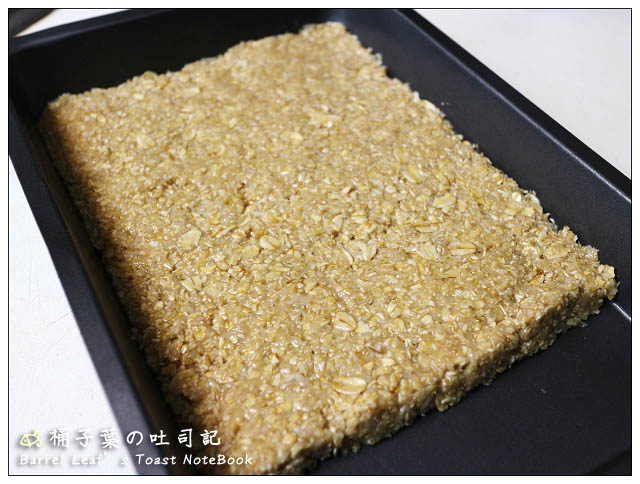
3.將燕麥團填入烤盤中,用手塑型、壓緊成約1公分厚
Place the crust mixture into a baking tray. Using your hand to press the mixture evenly into the pan, about 1 cm thick.
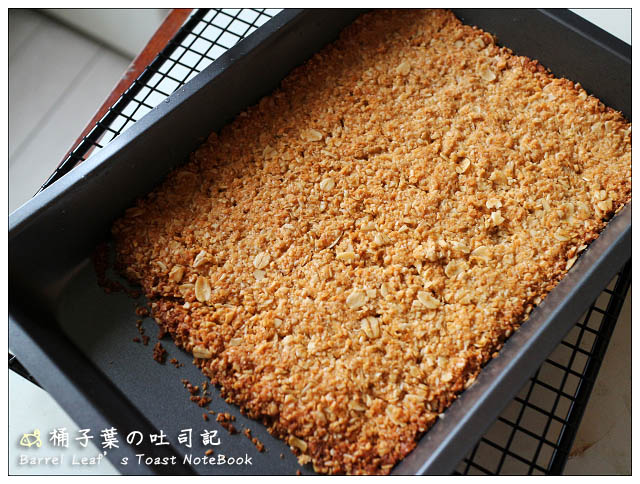
4.放入已預熱好的烤箱,以170°C烤約15分鐘至金黃色。烤好後至於網架上放涼
Put it into the preheated oven to bake at 170°C about 15 minutes or until golden-brown. Then let the crust cool on wire racks.
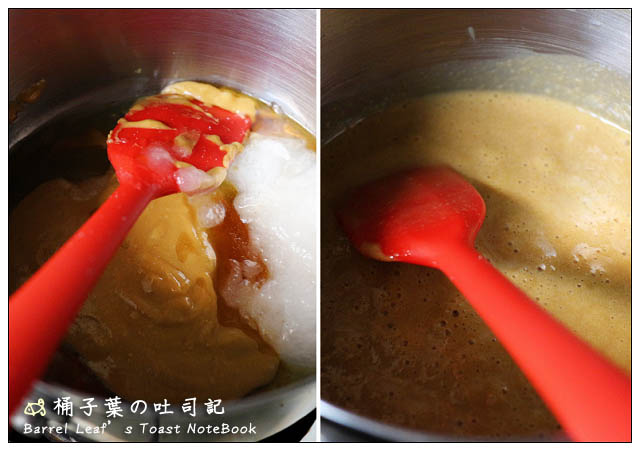
5.製作花生醬層:把花生醬層的食材放到同一鍋中,用中小火加熱約3~5分鐘,同時用耐熱刮刀混合均勻,
For the peanut butter layer: put all ingredients into a pot. Mix them with a spatula over a medium low heat for about 3-5 minutes until all ingredients are well incorporated.
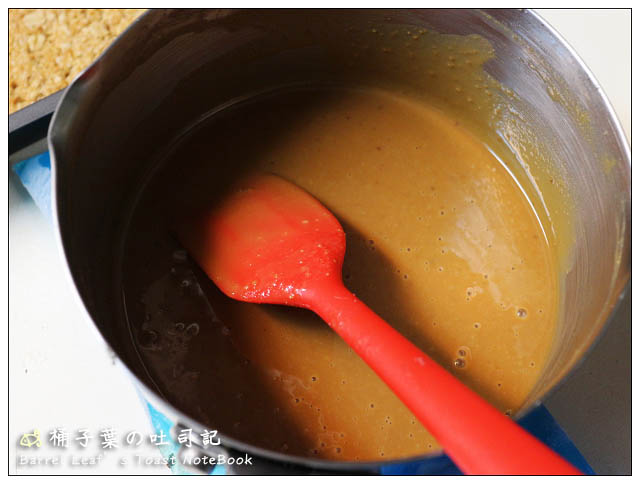
6.將混合好的花生醬層放涼,或直接隔著鍋用冰塊降溫會更快
Let the peanut butter mixture cool to room temperature or just put it on ice to get cool faster.
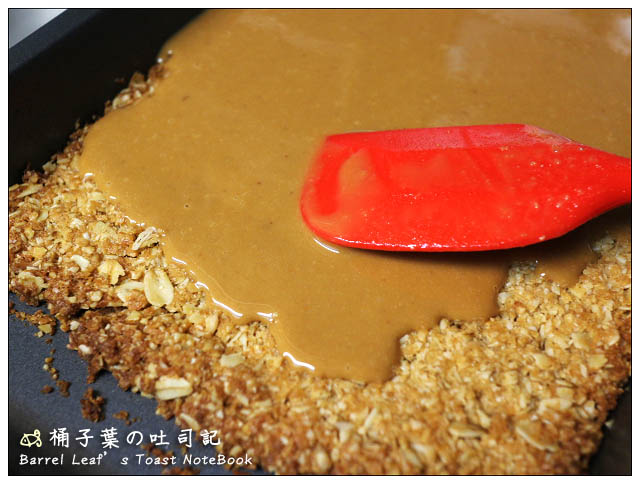
7.將花生醬層倒到冷卻的燕麥餅底層上,用刮刀抹平,再放到冷凍庫20 – 30分鐘
Pour the peanut butter mixture onto the cooled crust and spread evenly. Then put it into the freezer for 20~30 minutes.
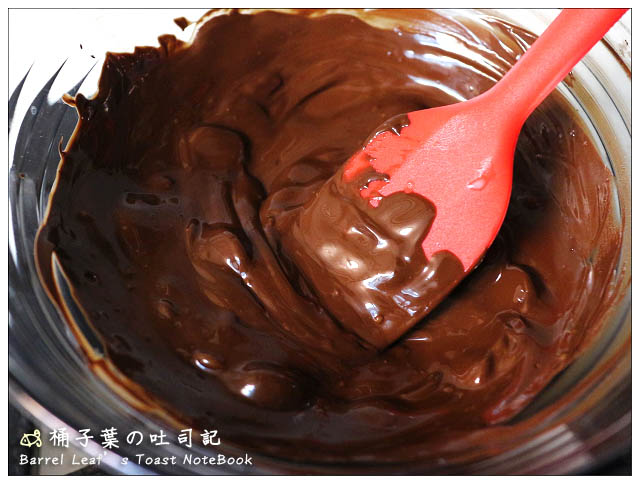
8.製作表層巧克力:將巧克力用隔水加熱的方式完全融化
To make the chocolate topping: melt the chocolate by using a bain-marie or a double boiler.
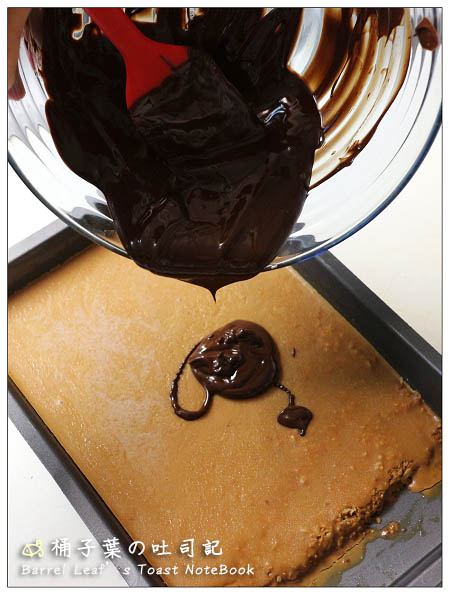
9.取出放到冷凍庫的花生醬燕麥餅,將融化的巧克力倒於表面,快速抹平
Remove the bar from the freezer, pour the melted chocolate on top and spread evenly fast.
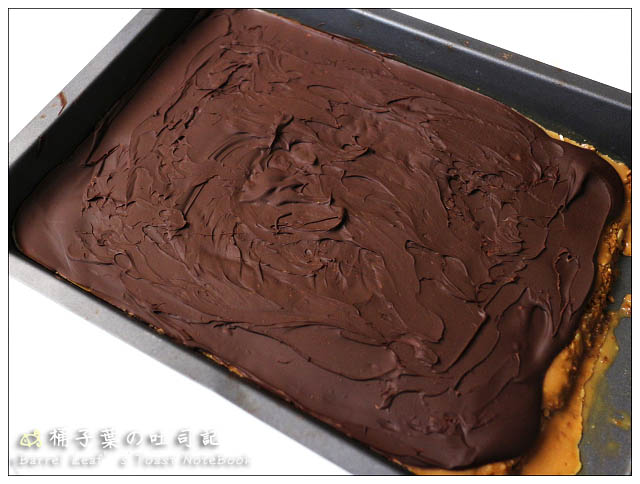
10.之後再放入冷凍庫約10~20分鐘,至表層巧克力凝固 (因為我邊拍照邊做,巧克力凝結得太快就有明顯的痕跡”‘Orz)
Put to bar into the freezer again for about 10-20 minutes or until the chocolate topping is set. (Since I took several photos while making them, the chocolate topping got solid too fast that I could not spread the topping smoothly.)
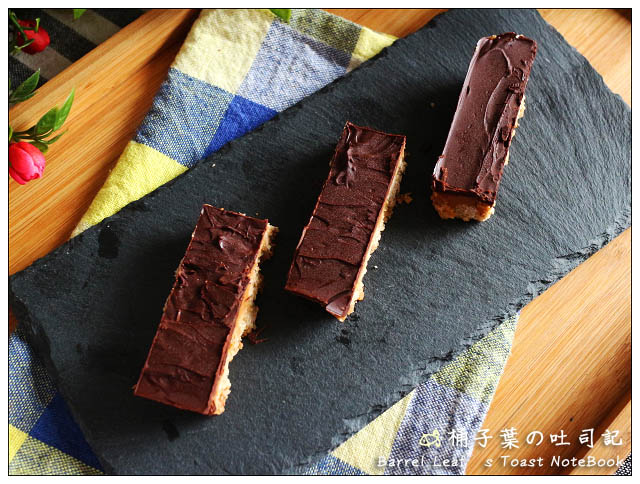
11.之後再取出切成適當大小的條狀即可。冷藏保存。
After the bar is hardened, cut them into small bar or any shape you want. Store them in the fridge.
✂ —— 實作影片 ——✂
© barrelleaf.com 網站內所有內容與圖片均受版權保護。未經允許請勿使用。若您想發表使用此食譜延伸之內容,請使用自己的話重新撰寫整個食譜,並包含原食譜網址連結。

Bon appétit!
延伸閱讀:
〔實作影片〕燕麥鬆餅 Oatmeal Waffles (無麩質,蛋奶素 gluten-free)
【食譜】抹茶燕麥早餐穀片 Matcha Granola (無精緻糖、無奶油、全素)
【食譜】無罪地瓜巧克力布朗尼 — 不可思議的健康美味 (全素 vegan)
【食譜】全素提拉米蘇 (免烤、無麩質) 美味無罪甜點 Vegan, Gluten-free Tiramisu
【下廚】偷吃步速成 濃郁日式咖哩 — 30分鐘變出一鍋美味咖哩
【食譜】超簡單~不用顧 養生紅豆紫米粥 (電鍋)
