綿潤冰涼,結合藍莓的酸甜,這個沒有蛋奶、不用烤的 Vegan 全素藍莓偽乳酪蛋糕 不僅美味、美麗,也很適合夏天!

全素藍莓偽乳酪蛋糕 (無麵粉,免烤)
Vegan Blueberry Layered Cheesecake (Gluten-Free, No-Bake)
不知道是不是因為天氣愈來愈炎熱的關係,甜點特別想吃酸甜的莓果類。前陣子又想來做全素的偽乳酪蛋糕,找到一個食譜想試,但原食譜外觀比較普通一些,就熊熊想到以前做過的這個 原味重乳酪 × 藍莓生乳酪 無粉雙層乳酪蛋糕,於是就決定來做過外觀很像的 全素藍莓雙層偽乳酪蛋糕 嘿!
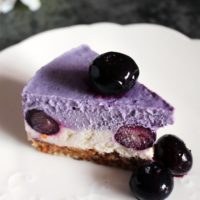
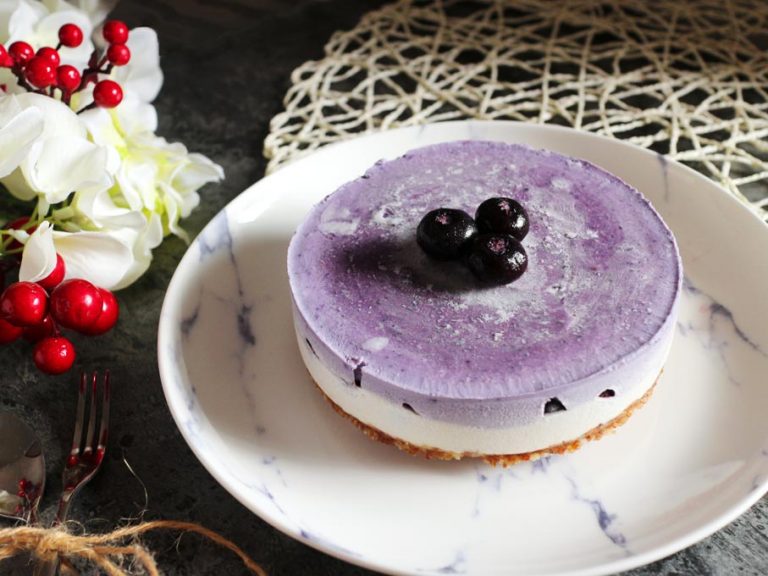
將將將將~! 這個就是成品啦! 這個”偽”乳酪蛋糕 是全素的 ─ 無蛋、無牛奶脂,也沒有麵粉和精緻糖。名字中有”偽”,就是因為裡頭並沒有奶油乳酪,也沒有鮮奶油,取而代之的是腰果奶油和椰奶。
直接看怎麼做藍莓偽乳酪蛋糕
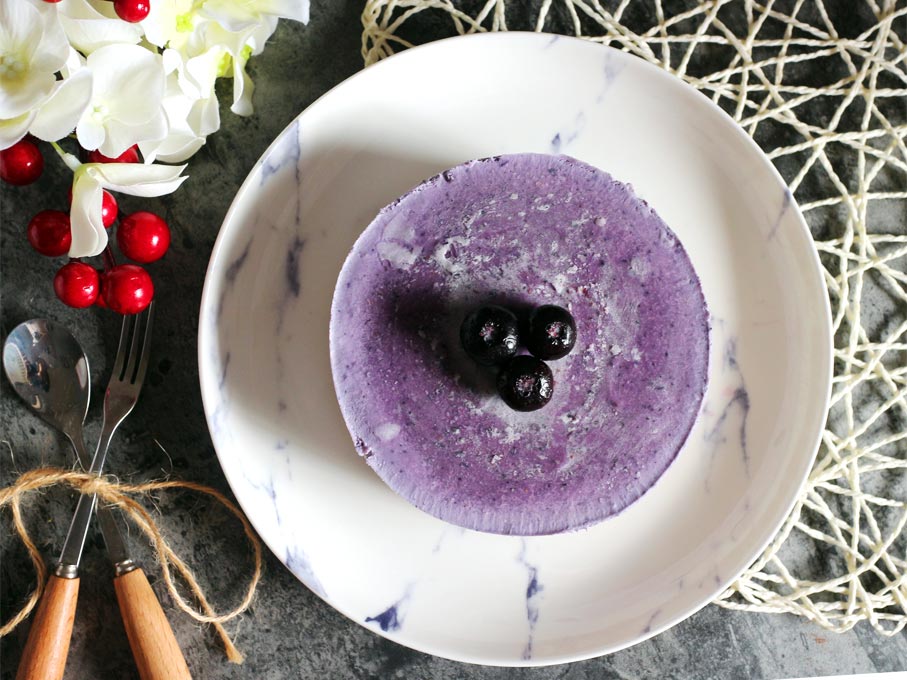
因為冰箱裡還有很多甜點,不敢一次做太多,所以這次是做4吋的小蛋糕。
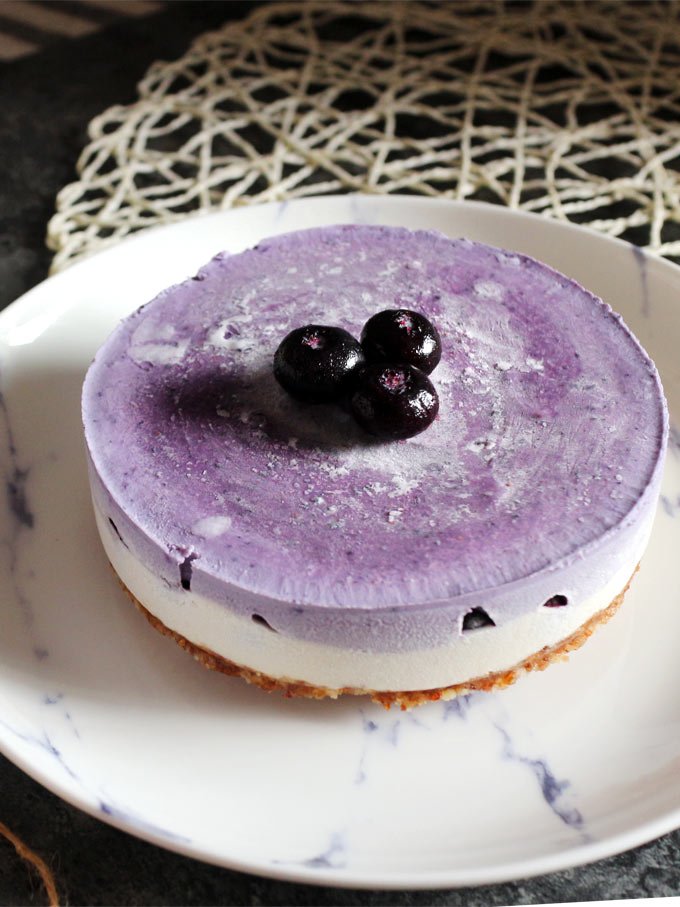
個人是覺得和之前做的 原味重乳酪 × 藍莓生乳酪 無粉雙層乳酪蛋糕 真的還滿像的,只是這次藍莓是用冷凍藍莓,不是用果醬,加上”奶”(此食譜用椰奶)的比例也降低,做出來的藍莓層顏色也就比較鮮豔。
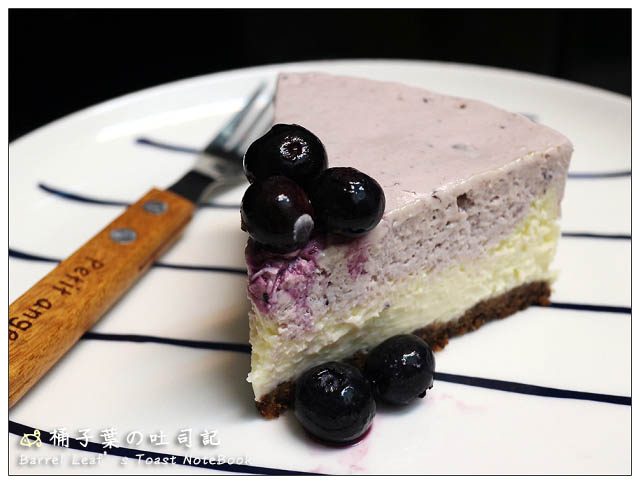
⇑ 這個是去年做的 原味重乳酪 × 藍莓生乳酪 無粉雙層乳酪蛋糕
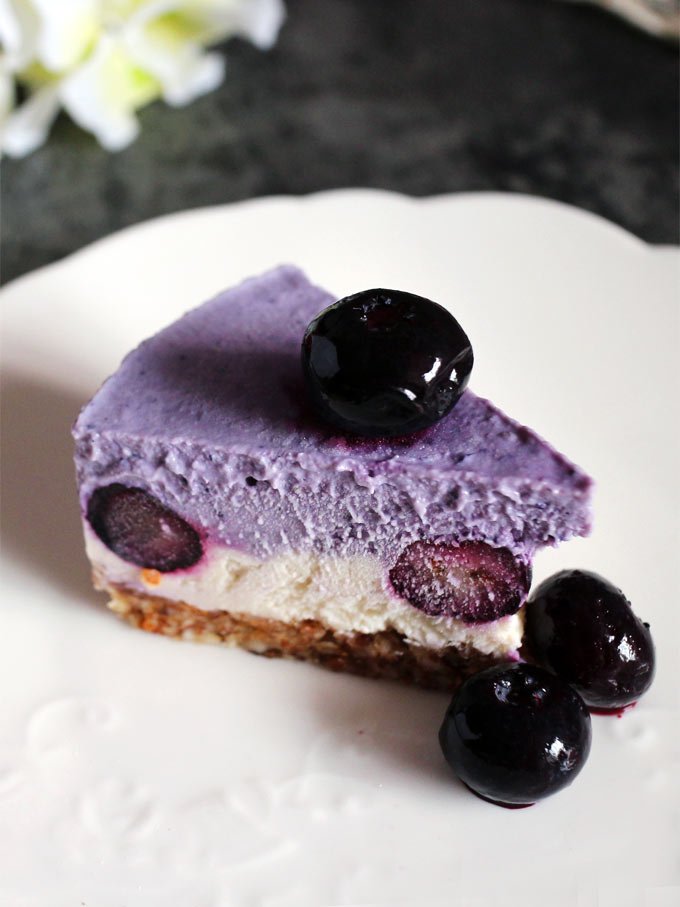
這次除了做出雙層之外,也在中間夾了藍莓,讓切片看起來更繽紛。利用腰果奶油製成的偽乳酪蛋糕自然無法像奶油乳酪那種牛奶奶脂的滋味,但口感真的是很綿潤的。這次裡頭還加了檸檬汁更提升點酸味,真的是很適合夏天的甜點!
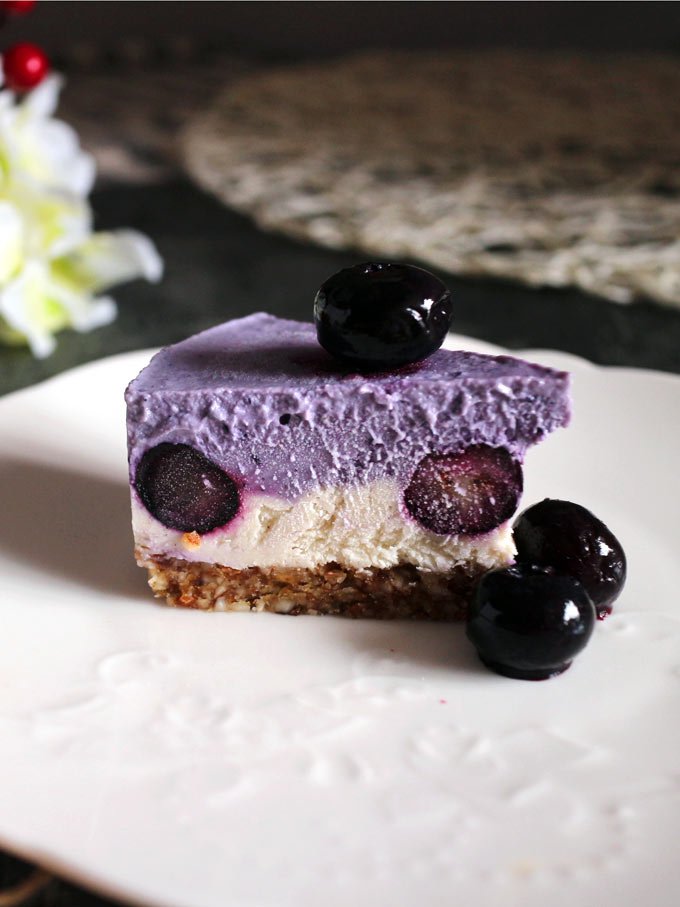
看似好像很多層,但其實過程算簡單,就是把東西輪流丟進機器打啊打啊打~就對了。而且需要的食材也不算多,來動手做吧! Let’s do this!
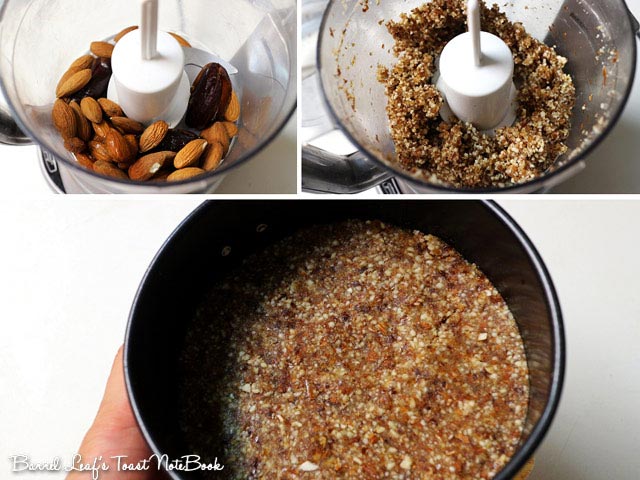
▲ 基底 To make the base

▲ 起司層 To make the cheesecake filling
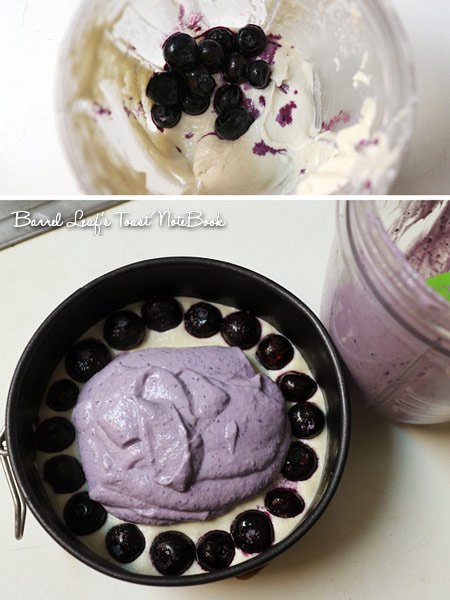
▲ 藍莓起司層 To make the blueberry cheesecake layer
Vegan Blueberry Layered Cheesecake 全素藍莓偽乳酪蛋糕
綿潤冰涼,結合藍莓的酸甜,這個沒有蛋奶、不用烤的 Vegan 全素藍莓偽乳酪蛋糕 不僅美味、美麗,也很適合夏天!
份量: 6 people
食材
For the base 基底
- 50 g almonds 杏仁
- 25 g pitted dates 去籽椰棗
- 1/2 Tbsp water 飲用水
For the “cheese” cake “起司”層
- 100 g raw cashews, soaked 生腰果
- 1 Tbsp lemon juice or lime juice 檸檬汁 或 萊姆汁
- 1.5-2 Tbsp maple syrup 楓糖漿
- 50 g coconut cream from canned coconut 椰奶奶油, or store-bought one 或市售的這種*
- 40 g frozen blueberries 冷凍藍莓
- 1/2 tsp coconut oil 椰子油, melted
Additional ingredient for the blueberry cheese layer 藍莓層額外食材
- 20 g frozen Blueberries 冷凍藍莓
作法
- Soak the cashews in water for 4 – 6 hours then drain and rinse.
- Line the bottom of the pan
To make the base:
- Blend the almonds, dates, and water in a food processor until it becomes crumbly and can stick together if squeezed between your fingers. Press into the bottom of the pan.

To make the cheesecake filling:
- Blend all ingredients except for the blueberry in a blender until smooth.
- Pour about half of the mixture into the pan. Drop and shake a little to make the surface smooth. Then stuff the blueberries (40 g) into the filling. Freeze for 20 minutes.

To make the blueberry cheese layer:
- Add the blueberries (20 g) to the remaining cheese mixture and blend until it gets a beautiful purple color.

- Pour this purple mixture onto the cheesecake layer. Smooth the top and then freeze for 4 hours or overnight until set.
- Remove from the pan. Let the cake defrost a little before slicing and serving. You can add additional blueberries on top.
中文版
- 將生腰果浸泡於飲用水中 4-6小時,之後濾乾再用飲用水稍微沖一下
- 烤模底層鋪烘焙紙
做基底層:
- 將杏仁、椰棗與飲用水放入食物處理機中,攪打至可捏成團的程度,再鋪入模具底部
製作起司層:
- 將除了藍莓之外的食材放入食物調理機中,攪打至滑順
- 將起司層的一半份量倒入模具中,搖晃輕敲使表面平順,再將藍莓 (40 g) 填入其中,接著放入冷凍20分鐘使其大略凝固
製作藍莓層:
- 將藍莓 (20 g) 與剩下的起司層混合物用調理機攪打均勻,再倒至原味起司層上,搖晃輕敲使表面平順。放入冷凍至少 4 小時或冰一晚至其凝固
- 取出脫模,讓蛋糕稍微解凍後再切塊享用。表面可以再加額外的藍莓點綴
Video
備註
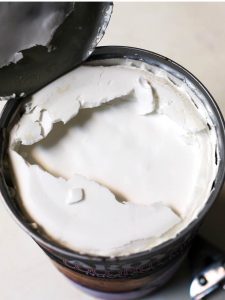
- Coconut cream: Take the thick part (top) from refrigerated canned coconut milk.
- Store the leftover cake in the fridge for 3 – 4 days or in the freezer for 2 weeks.
- Adapted from Clean Healthy Eating Recipes
- 椰奶奶油:將未開封罐裝椰漿冷藏一晚,椰漿會呈固態,再取用
- 保存:密封冷藏保存 3 – 4 天,或冷凍 2 星期
