Read the post in:
 繁體中文
繁體中文
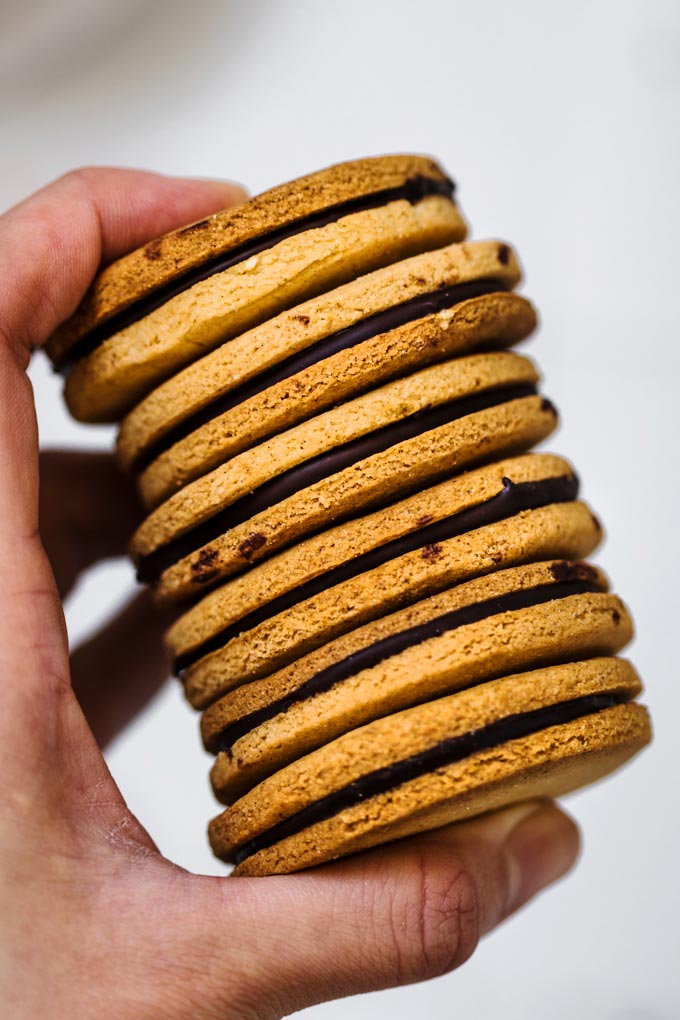
Crispy biscuits with chocolate filling, these Vegan Chocolate Sandwich Biscuits are perfect with a glass of (plant-based) milk and coffee any time of the day!
Story behind these Chocolate Sandwich Biscuits
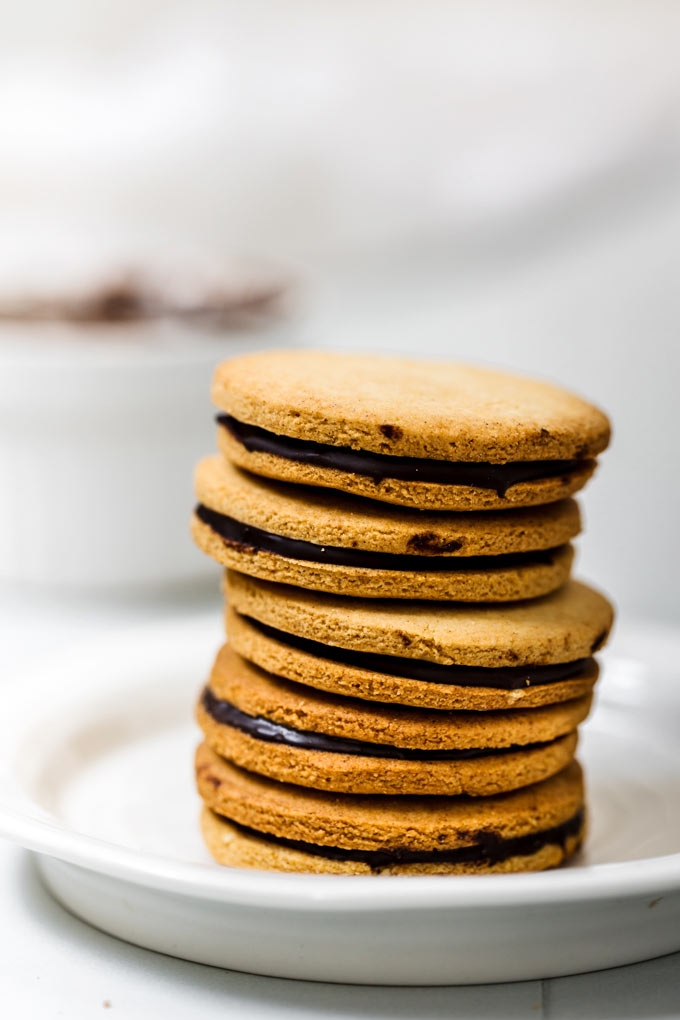
I don’t think it would sound surprising if I said I crave sandwich biscuits ALL THE TIME, especially chocolate filling ones. (Wink wink)
So with the huge craving, I made these vegan chocolate sandwich biscuits that are delicious, not too sweet, and addictive (to me!)
What’s special about these chocolate sandwich biscuits?
- Perfect texture for (plant-based) milk and tea!
- Made with only 7 ingredients
- Vegan, no eggs, no dairy
- Gluten-free, but can use regular plain flour as well if you want
What do we need for Chocolate Sandwich Biscuits
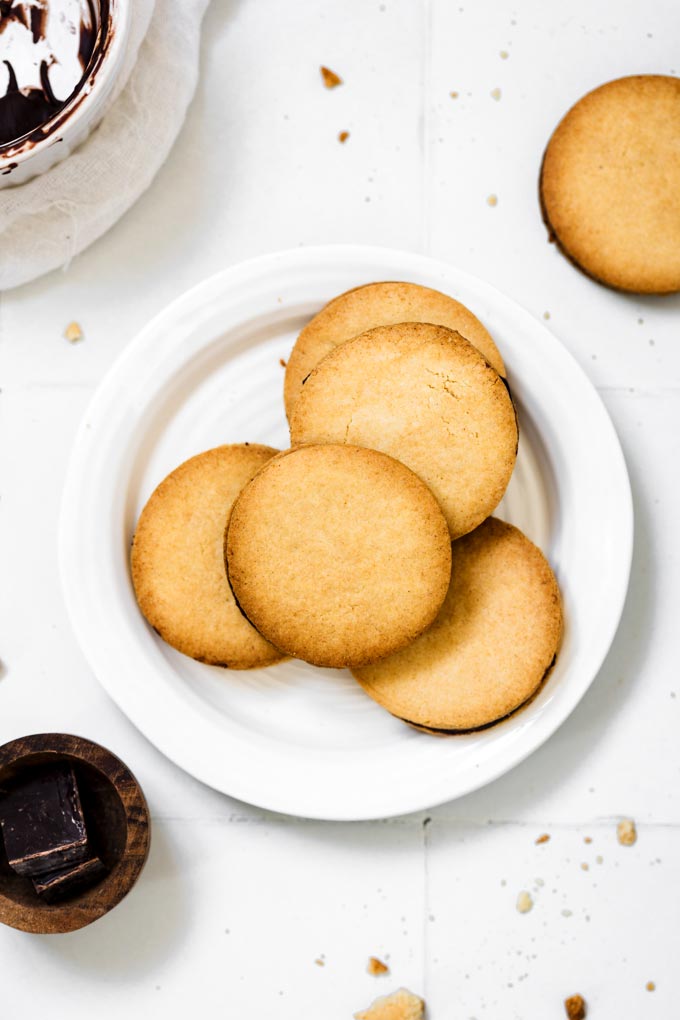
- Maple syrup: There is no granulate sugar in this recipe, just good maple syrup!
- Vegan spread (non-dairy spread): Use the kind you would spread on bread.
- Vanilla extract: It just makes baked good taste sooooo much better!
- Almond extract: This is optional, but it adds more aroma
- Gluten-free plain flour: Here I use store bought gluten-free plain flour. You can use any kind of plain flour that you have success with before.
- Almond flour: adds some crunch texture to our biscuits.
- Dark chocolate: the very important ingredients for these sandwich biscuits. I like to use 70% chocolate for the perfect bittersweet balance!
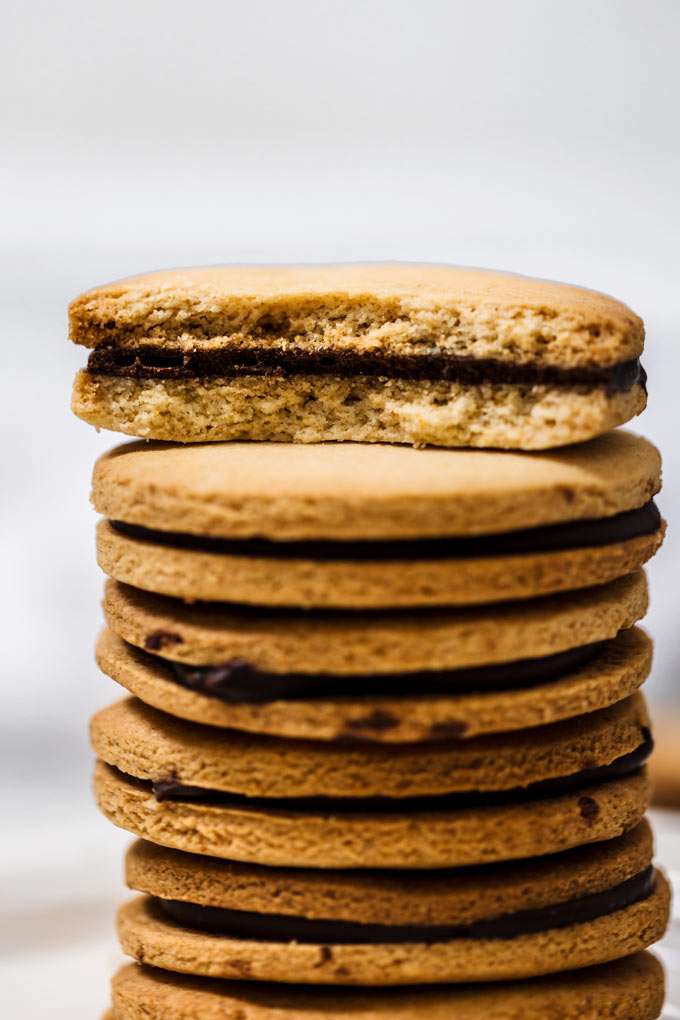
How to Make Chocolate Sandwich Biscuits
First, make the biscuits:
- Prepare for the baking: Preheat the oven to 175°C/350°F/Gas Mark 4. Line a baking sheet with a baking mat or baking paper.
- Mix the wet ingredients: Add maple syrup, melted vegan spread, vanilla extract, and almond extract in a big bowl. Use a fork to mix all together evenly.
- Add dry ingredients: Then add gluten-free plain flour and almond flour. Stir to incorporate all, and use your hand to shape it into cookie dough.
- Shape the biscuits: Place the dough between 2 pieces of baking paper. Use a rolling pin to roll out the dough evenly into around 5 mm (1/5 inch) thick. Then use a round cookie cutter to cut out the cookie dough. Place the cut-out disks onto the prepared baking sheet, evenly spaced. Reintegrate the leftover dough to repeat the same rolling -out and cutting movement until you use most of it. (Use your hands to roll the last leftover piece into a ball and press it down. Can bake it too.)
- Bake: Place the baking sheet on the lower 1/3 rack in the oven to bake for 15–18 minutes until slightly golden brown.
- Cool: Transfer the baking sheet onto a wire rack to cool down while we make the chocolate filling.
To make the chocolate filling:
- Melt the chocolate and vegan spread together in a bowl over simmering water. Or you can melt them in a microwave using medium heat for 30–60 seconds. Use a silicone spatula to incorporate them together.
- Then stir in the maple syrup. Make sure everything is fully incorporated. The consistency should be slightly thick but not super runny.
To assemble:
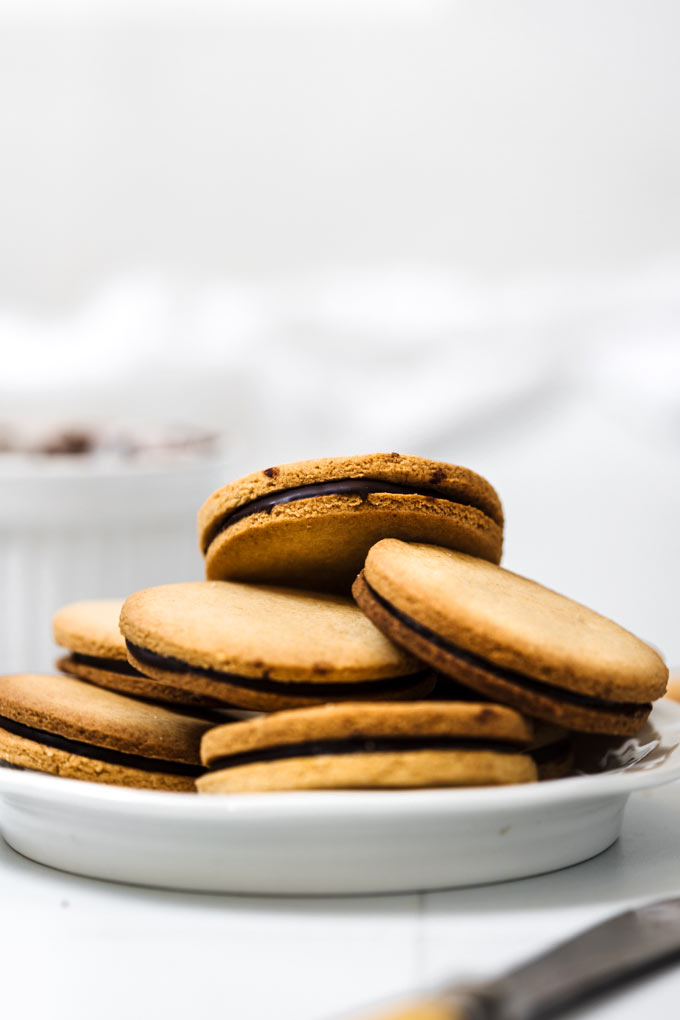
- Add about 1 heaping teaspoon of the chocolate filling to the back of one biscuit. Gently spread it out and add another biscuit on top to make a sandwich biscuit.
- Repeat to finish all the biscuits. You can enjoy right away, or put them in a food container in the fridge for 5 minutes to let the filling set up more.
Extra Tips for Success
- Weight your ingredients. It’s important to get the overall ratio right, so I’d say use a kitchen scale whenever you can.
- Make sure ingredients are evenly combined. This is what it takes to get the same, consistent texture and flavour.
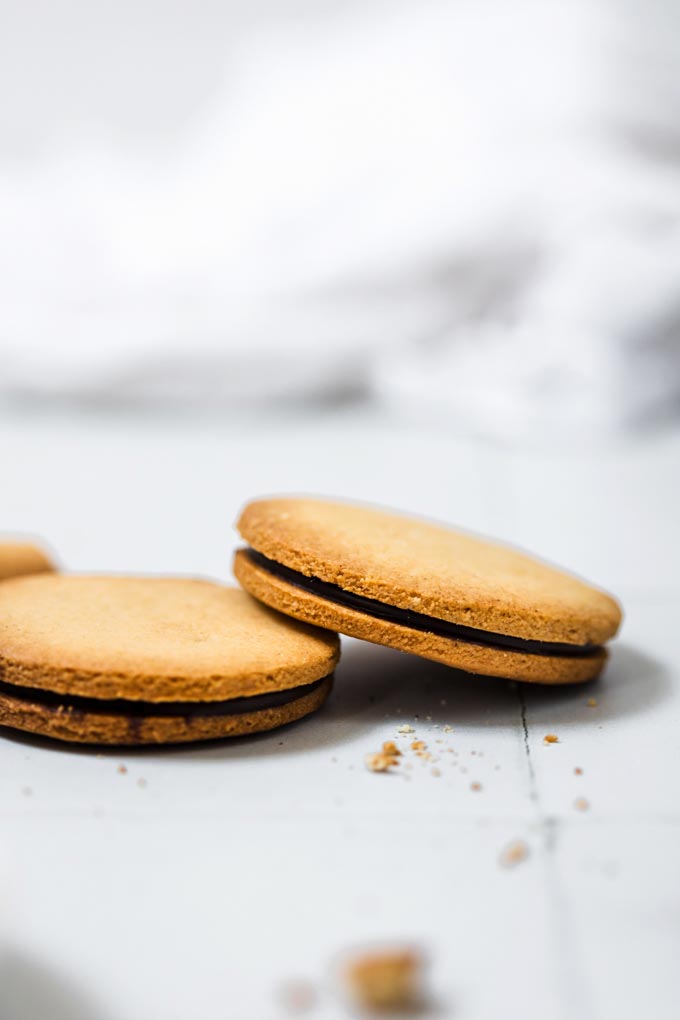
Final words
These chocolate sandwich biscuits are really tasty, Jonathan and I were both in love with them and having them every day after I made them. I hope you will like this delicious chocolate sandwich biscuit recipe too!
Happy baking & eating! — Nora
You might be interested in these recipes as well:
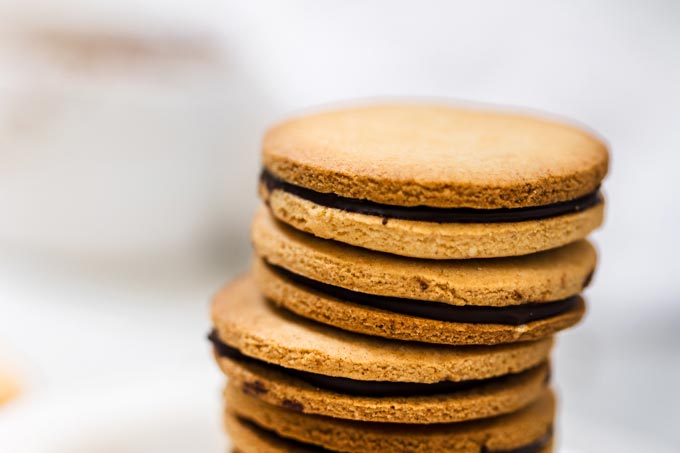
Vegan Chocolate Sandwich Biscuits (Gluten-free)
Slightly crispy biscuits with chocolate filling, these Vegan Chocolate Sandwich Biscuits are perfect with a glass of (plant-based) milk and coffee any time of the day!
Servings: 6 people
Ingredients
Biscuits
- 40 g maple syrup
- 24 g vegan spread, or coconut oil, melted
- 1/2 tsp vanilla extract
- 1/4 tsp almond extract
- 90 g gluten-free plain flour, I use this gluten-free flour
- 50 g almond flour
Chocolate Filling
- 75 g dark chocolate, 70% cacao content recommend
- 24 g vegan spread
- 1 Tbsp maple syrup
Instructions
To make the biscuits
- Prepare for the baking: Preheat the oven to 175°C/350°F/Gas Mark 4. Line a baking sheet with a baking mat or baking paper.
- Mix the wet ingredients: In the big bowl, add maple syrup, melted vegan spread, vanilla extract, and almond extract. Use a fork to mix all together evenly.
- Add dry ingredients: Then add gluten-free plain flour and almond flour. Stir to incorporate all and use your hand to shape it into cookie dough.
- Shape the biscuits: Place the dough between 2 pieces of baking paper. Use a rolling pin to roll out the dough into about 5 mm (½ inch) thick. Then use a round cookie cutter to cut out the cookie dough. Place the cut-out disks onto the prepared baking sheet, evenly spaced. Reintegrate the leftover dough to repeat the same rolling -out and cutting movement until you use most of it.
- Bake: Place the baking sheet on the lower 1/3 rack in the oven to bake for 15–18 minutes until slightly golden brown.
- Cool: Transfer the baking sheet onto a wire rack to cool down while we make the chocolate filling.
To make the chocolate filling
- Add the chocolate and vegan spread to a heat-resistant bowl. Melt them together over simmering water or in a microwave (30-60 seconds). Use a silicone spatula to incorporate them together.
- Then stir in the maple syrup. Make sure everything is fully incorporated. The consistency should be slightly thick but not super runny.
To assemble
- Add about 1 heaping teaspoon of the chocolate filling to the back of one biscuit. Gently spread it out and add another biscuit (back to back) on top to make a sandwich biscuit.
- Repeat to finish all the biscuits and filling. You can enjoy right away, or put them in a food container in the fridge for 5 minutes to let the filling set up more.
Notes
- Storage: Store the sandwich biscuits in airtight jars or food containers in a dry, cool place. They can last 7–10 days.

