Read the post in:
 繁體中文
繁體中文
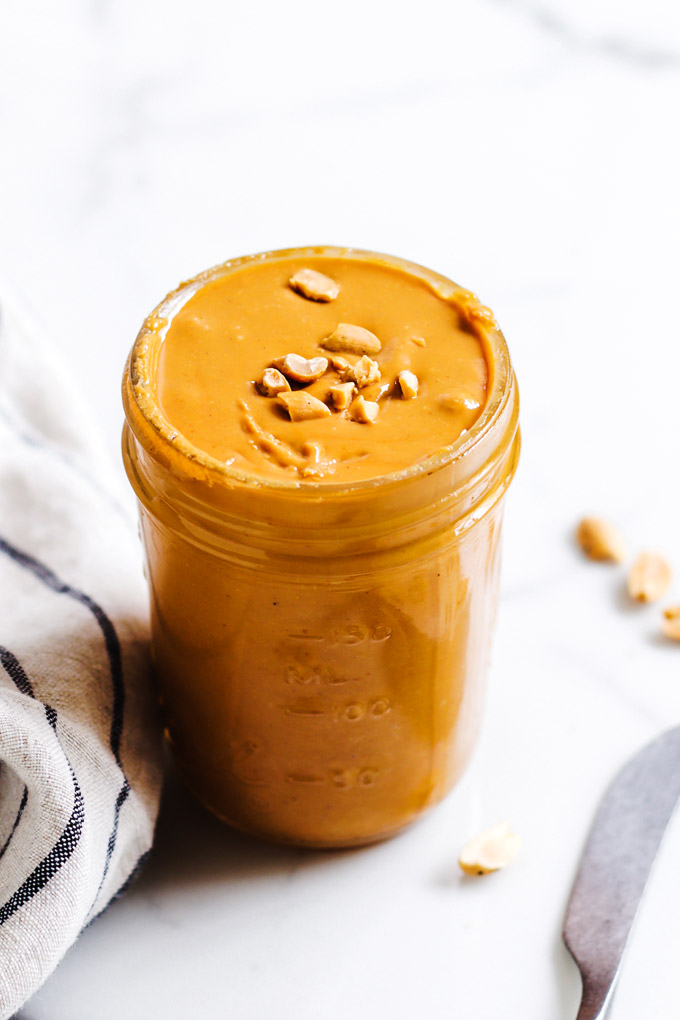
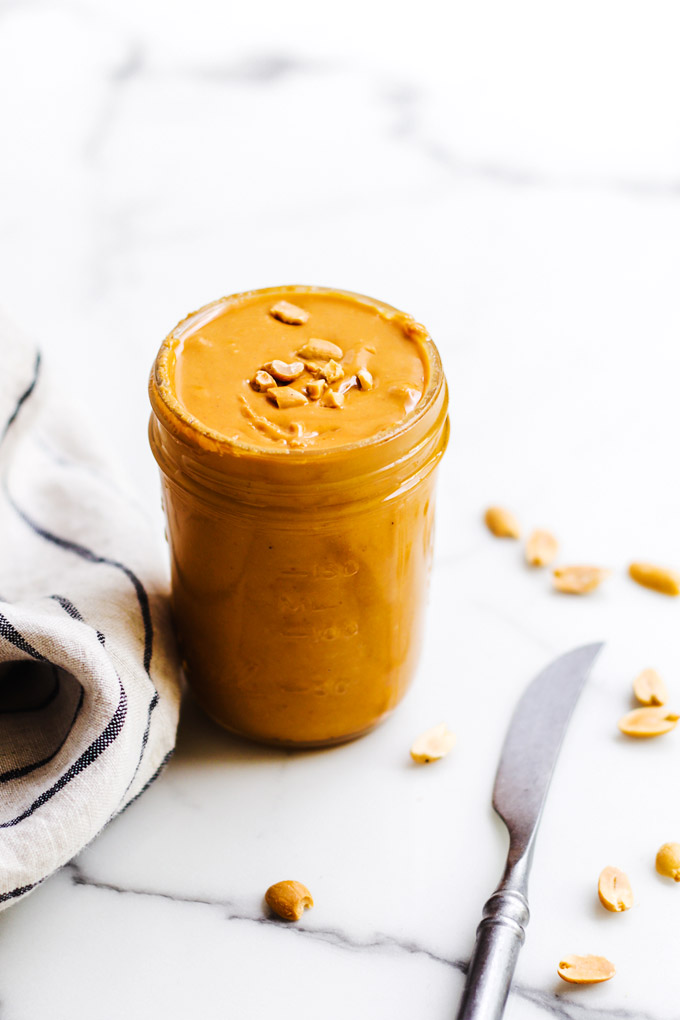
Make a jar of creamy, simple, delicious peanut butter with only 1 ingredient! You can customize your own peanut butter as well.
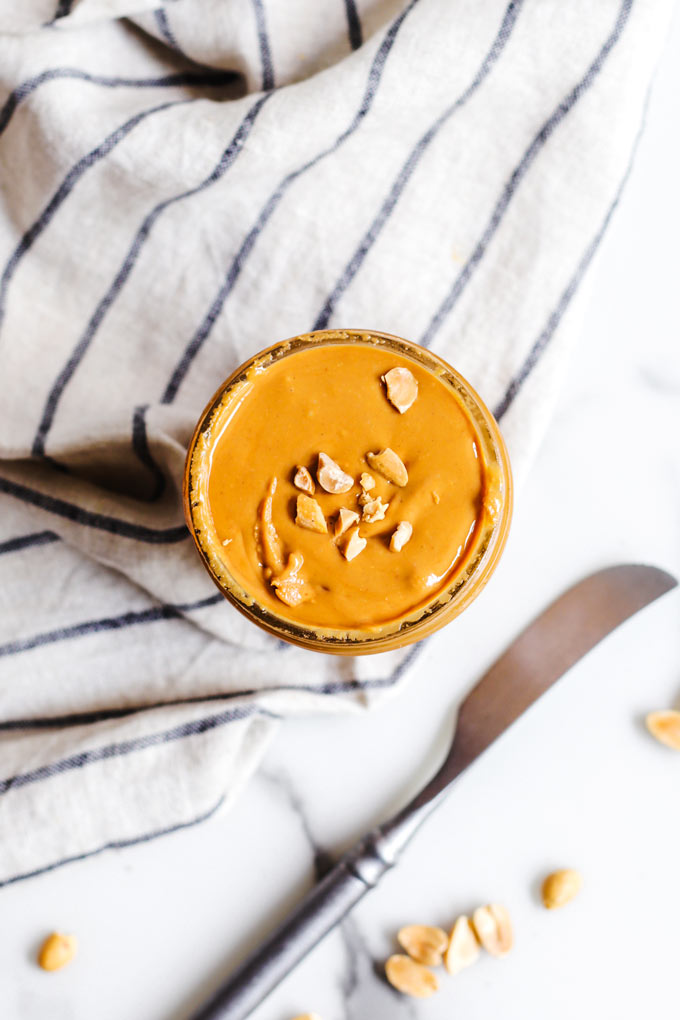
Do you love peanut butter as I do? I’ve loved peanut butter since I was a kid, finishing one jar in no time. So I started to think that I should probably make my own peanut butter so my wallet won’t cry. And that’s definitely one of the best decisions I’ve made!
The idea of making my own peanut butter also let me oat more attention to the peanut butter I’ve tasted. Some of them are not only added sugar and salt, but also some oil, most of the time, palm oil.
Don’t get me wrong. I think oil is fine and I also consume oil, especially after I went through a short period of Orthorexia.
What I have an option with is that the added oil in some store-bought peanut butter affects the texture and taste of the peanut butter. So when I found that you can actually just use 1 ingredient─peanuts to make peanut butter, I can’t wait to share!
Ingredient You Need
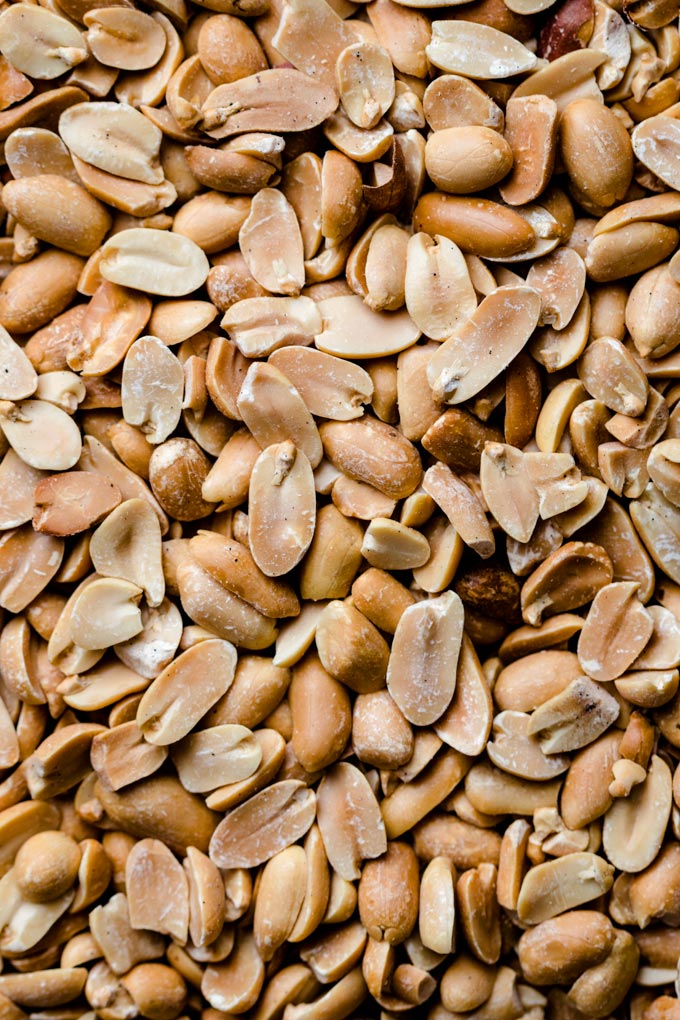
As I mentioned above, you really only need peanuts. But there’s are different forms of peanut out there, I just one to make it clear.
You can take either raw shelled peanuts or pre-toasted peanuts. And if you’re a busy person, I’ll suggest grabbing the latter.
If you grab the raw peanuts, you need to toast them and peel their skin off first. That’s a simple step but it requires a lot of work. So most of the time I just buy the toasted peanuts.
How to Make Peanut Butter
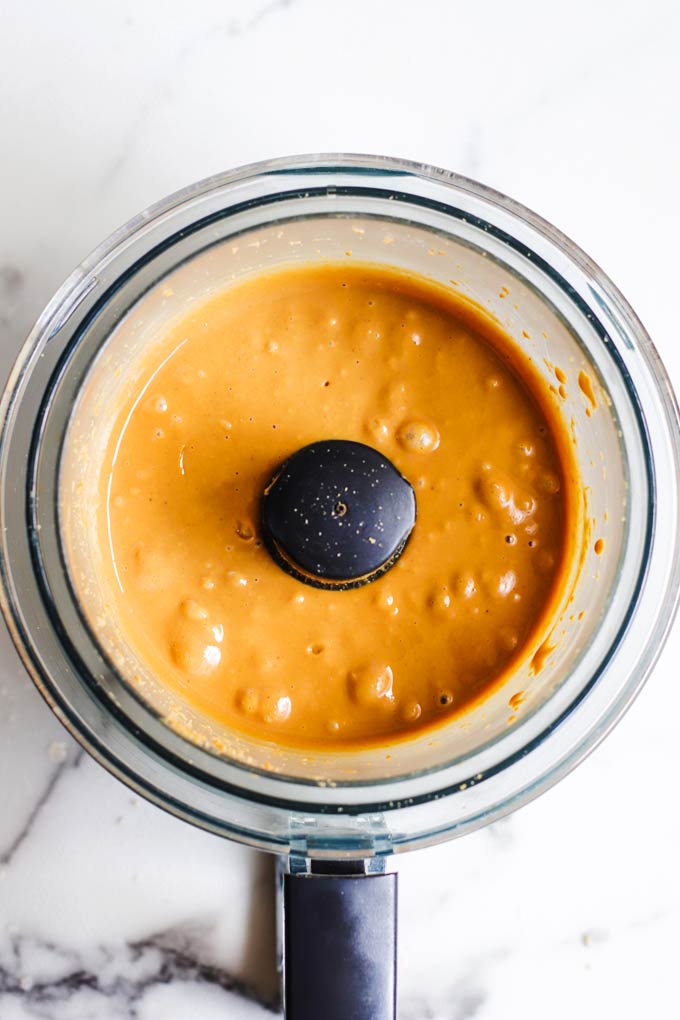
The step is quite straight forward. All you need to do is to add roasted peanuts to a strong food processor or blender.
The keyword here is “strong.” Magimix and Vitamix are my best friends and choices for making nut butter. I think Blendtec will work too.
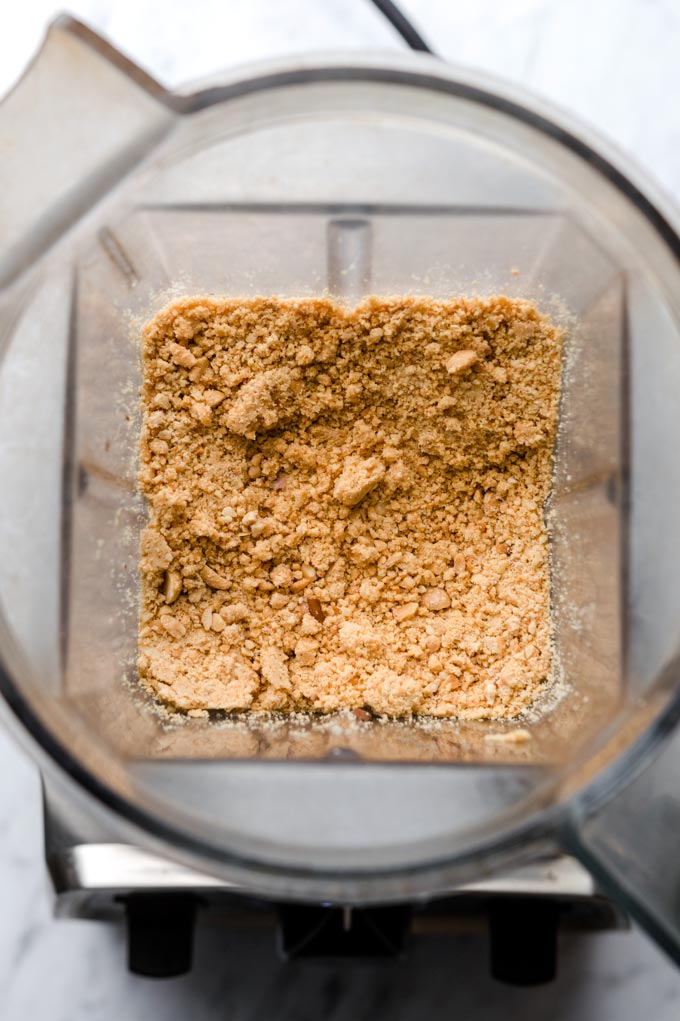
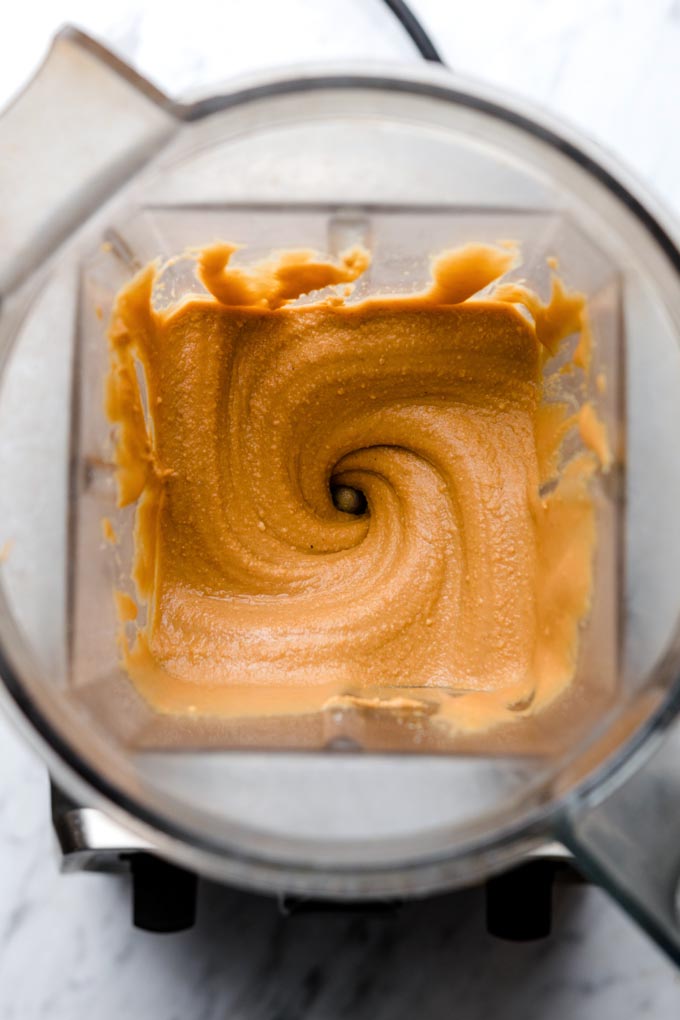
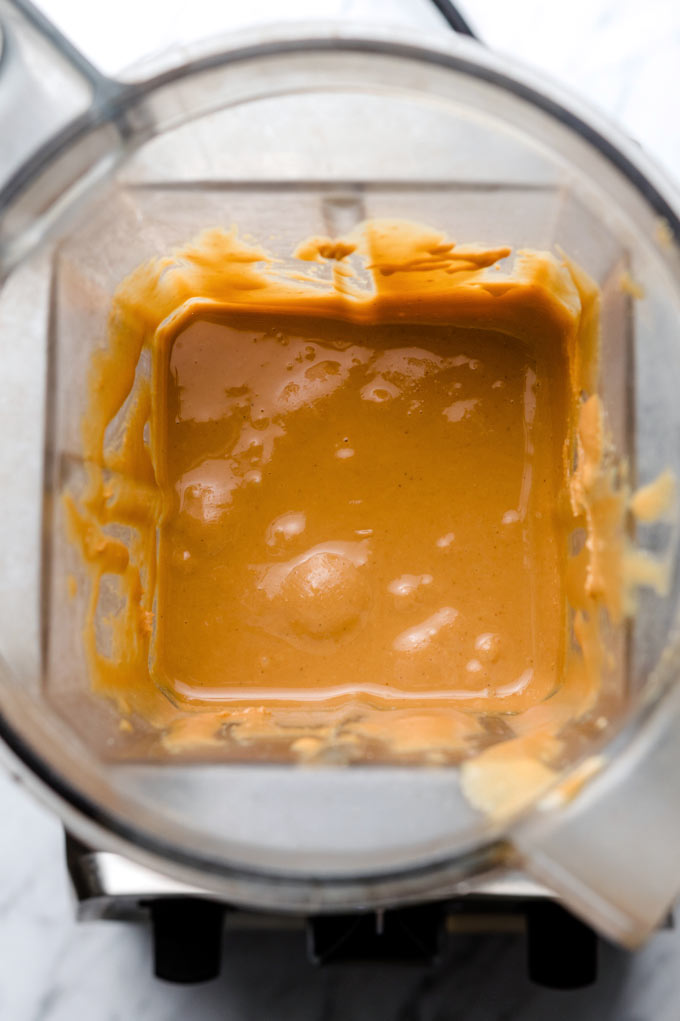
Add the roasted peanuts to a food processor or blender and start to blend. At first, the peanuts will turn into flour, then dough, and then paste.
The most important step is to stop and scrape down the sides as needed. Depending on the equipment you use, it should be done within 10 minutes.
How to Customize Your Peanut Butter
One of the best thing about homemade food is that you can always make ajustment or customization according to your need and your palate.
If you like your peanut butter sweeter (cus I think peanut butter has a slight sweetness by itself), you can always add cane sugar. I also like to add a pinch of salt to my peanut butter to bring out more flavor.
How to Serve Peanut Butter
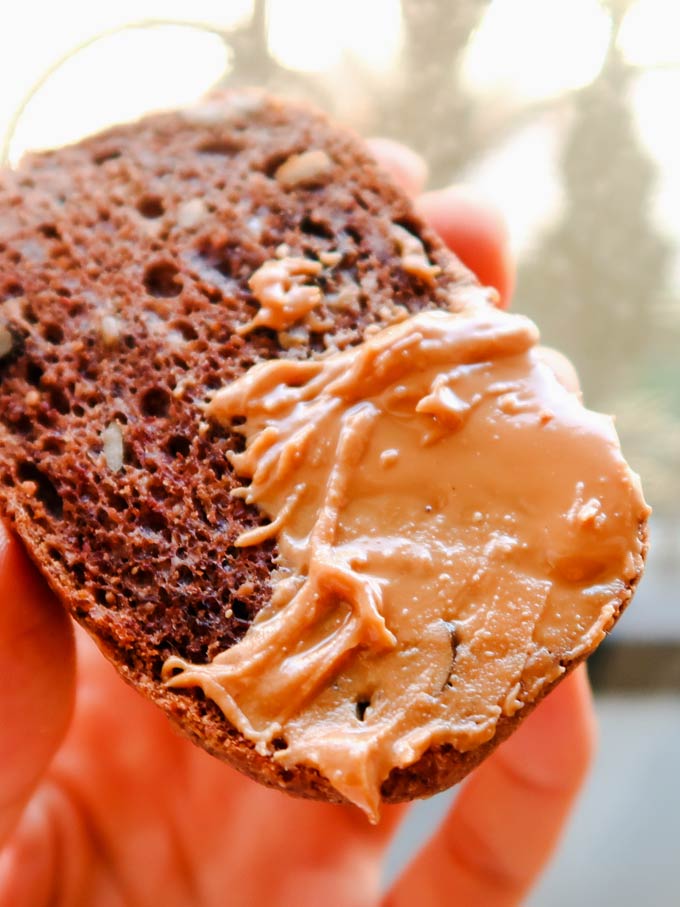
As a peanut butter lover, I probably will say you can add it to all kinds of food, seriously. But my favorite ways to enjoy peanut butter are probably on a toast or a banana.
How to Store Peanut Butter
Store the peanut butter in a dry, clean air-tight jar in the fridge. It should last 2-6 months. But I’ll still say enjoy and finish it as soon as you could since the oil has been released that you don’t want it to go rancid.
Troubleshooting
Why my peanut couldn’t turn into “butter”?
One of the biggest possible reasons is the tool you use. As I mentioned above, you really need a strong food processor or blender for the blending job.
The amount of peanuts you put in the food processor/blender is also important. I’ve shared the things that I’ve learned about making nut butter through these years in this article: How to Make Nut Butter » 3 things for success
Can I add oil to blend with the peanuts?
Yes, you can, especially if you (the machine) have a hard time turning the peanuts into a liquid form. But I’ll suggest use peanut oil or neutral-flavor oil, such as grapeseed oil or sunflower oil.
Keep in mind that you don’t need too much oil because peanuts are already rich in oil.
Can I add sugar or salt to my peanut butter?
Absolutely sure! It’s your peanut butter. Make it taste best for you. I often add salt and maple syrup to my peanut butter when serving with other food.
If you like some peanut sauce, I strongly recommend my beloved umami Easy Peanut Sauce, which goes so well with many things.
That’s it! I hope this article helps or encourages you to make your own peanut butter, especially if you are a peanut butter enthusiast like me.
If you have other questions, let me know in the comment down below. And if you make any of my recipes, tag me (@barrelleaf) on Instagram so I could see how you do!
Homemade Peanut Butter
Ingredients
- 600 g shelled peanuts, *raw or pre-roasted
- 1/4 tsp salt, optional
Instructions
- Add the peanuts to a pan over medium heat. Stir occasionally until the peanuts start to get brown. Let them cool. Then removed the skin from the peanuts. You can skip this step if you bought toasted peanuts.
- Add the toasted peanuts to a food processor or blend**. Start to process. Stop and scrape down the sides as needed. Repeat until the peanuts become peanut butter. The texture will transform from powdery to dough-like, then to smooth peanut butter. (See the photo in the post above)
- Transfer the peanut butter to a jar. Seal and let it cool completely. Store in the fridge. Or… start to eat!

