前陣子突然又非常想吃酸酸甜甜的莓果,做了 草莓香蕉果昔碗 當早餐,但還是也想來個草莓口味的甜點,想想一陣子沒做全素乳酪蛋糕了,於是就有了這個 全素草莓雙層乳酪蛋糕 !
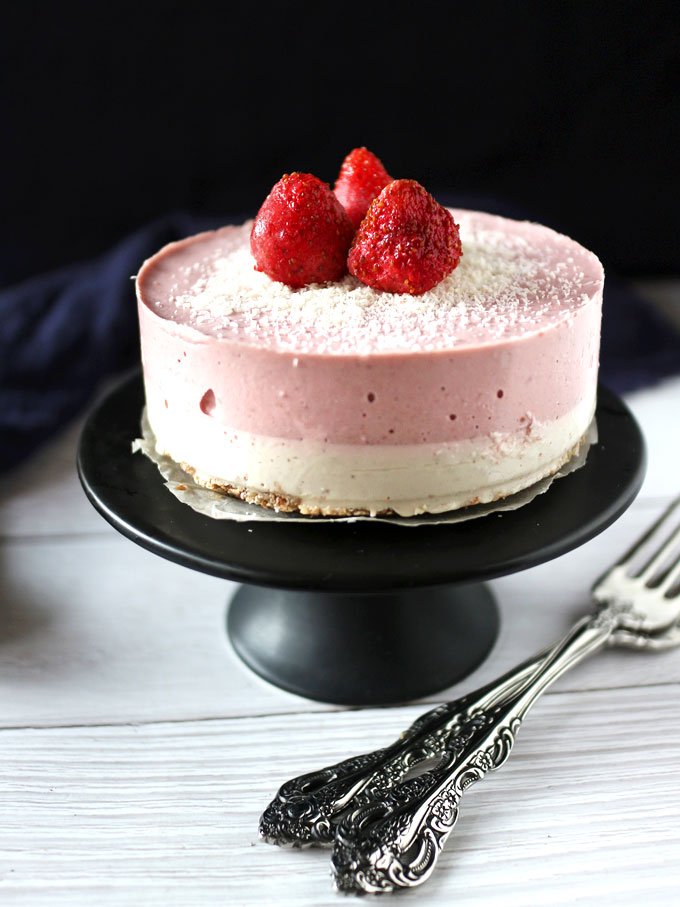
全素草莓雙層乳酪蛋糕 (免烤)
Vegan Strawberry Layered Cheesecake (No-Bake)
它一樣是全素、無蛋、無牛奶、無麵粉、無麩質、無動物性製品,如果你是舊朋友,那麼應該會明白雖然名中有”乳酪”二字,但並不是指常見的加工奶製品乳酪起司,而是用腰果製成的濃郁全素腰果乳酪,而且它也不需要烘烤!
原本是在考慮要不要整個都做成草莓口味,但後來想要讓整體的滋味更有層次,於是就做成了雙層,脫模時,看到這美麗的顏色層次,真的覺得是完全正確的決定!
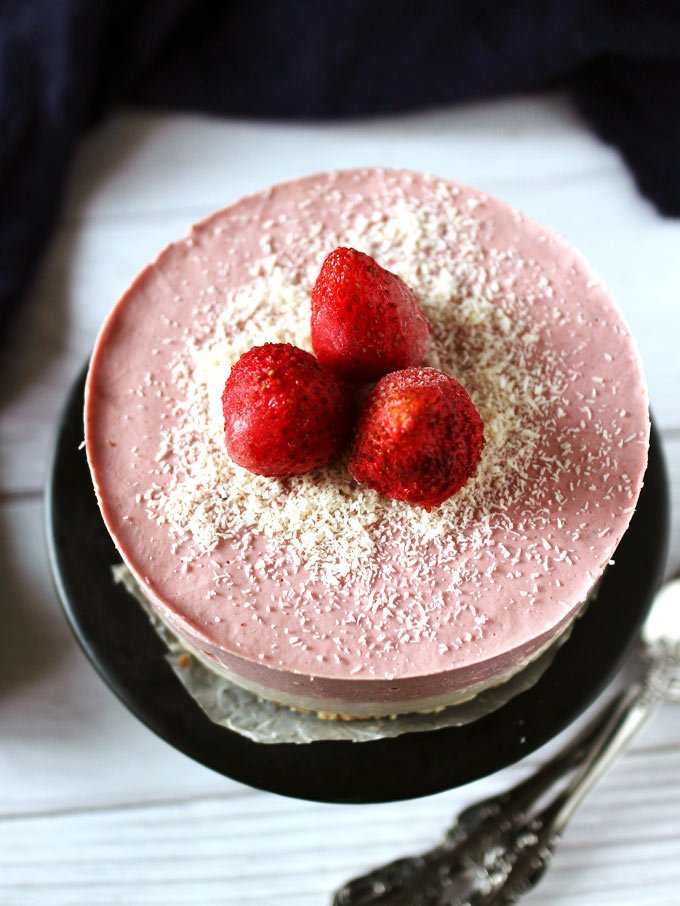
一開始沒有想到表面要用什麼點綴,在脫模時才開始快速思考,最後決定用手邊有的椰蓉和解凍草莓簡單點綴,如果有新鮮草莓的話是最棒的,但我在台灣,現在離草莓季還有些距離,在那之前,就先用冷凍草莓滿足我的「莓果慾望」吧!
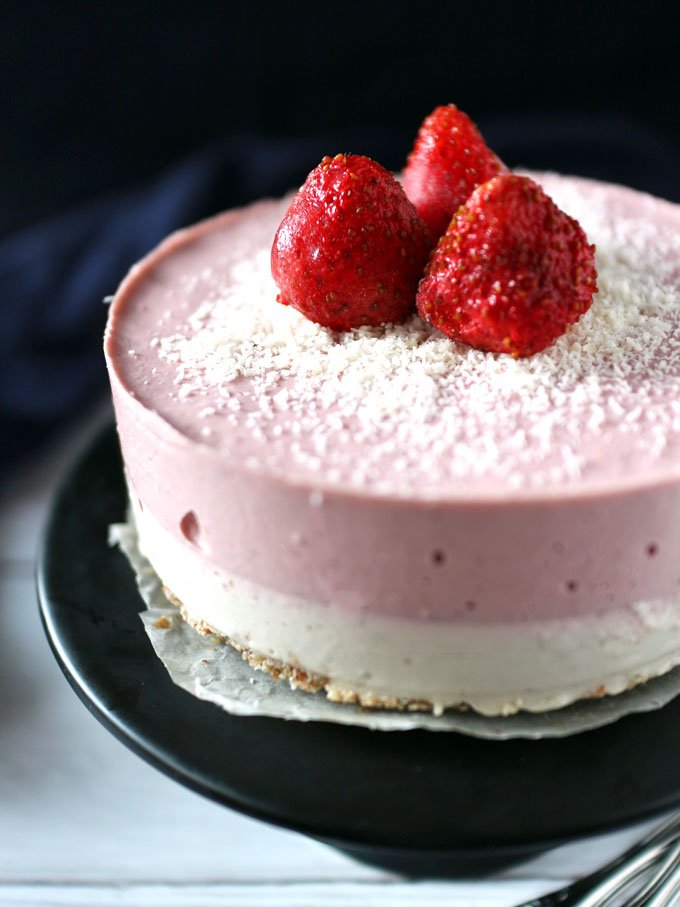
應該可以看到蛋糕外圍有一些小空洞,那是因為我在入模時沒有細心的把氣泡給敲出來,但整體還是美麗的,重點是美味的!
這次是參考改自 Lazy Cat Kitchen 的食譜,依自己的想法與口味調整,其中包含一樣我手邊也常有的東西:鷹嘴豆水 (aquafaba)! 就是煮鷹嘴豆時留下的水,或是罐頭裝鷹嘴豆罐內的液體。
因為我這個夏日愛上中東鷹嘴豆泥,常會有鷹嘴豆水,也已經拿它來做過 全素無糖咖啡冰淇淋、巧克力慕斯、能量堅果穀片、全素巧克力蛋糕,這次也將它融入這個全素草莓雙層乳酪蛋糕。
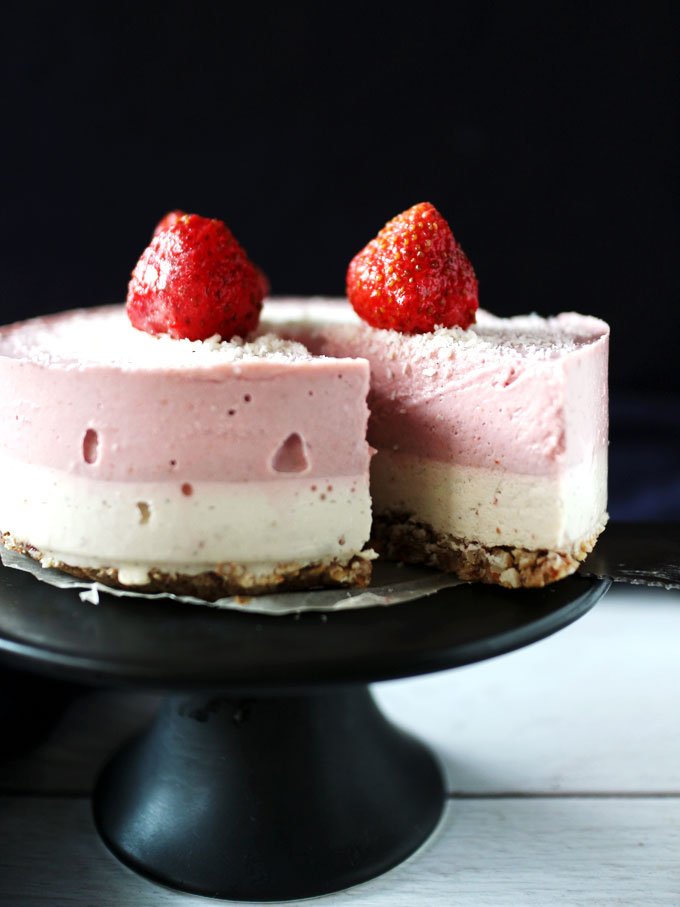
此外,這個全素草莓雙層乳酪蛋糕也和我過去分享的一些 全素乳酪蛋糕 口感質地稍不同,它不需要冷凍,在冷藏就能凝固得很好,只不過需要點時間就是。
這乳酪蛋糕的作法很簡單,應該最難的是等待它凝固的時間 (笑)。我是讓它在冷藏凝固一晚,隔天下午吃完午餐,馬上等不及就將它脫模、切塊準備享用。
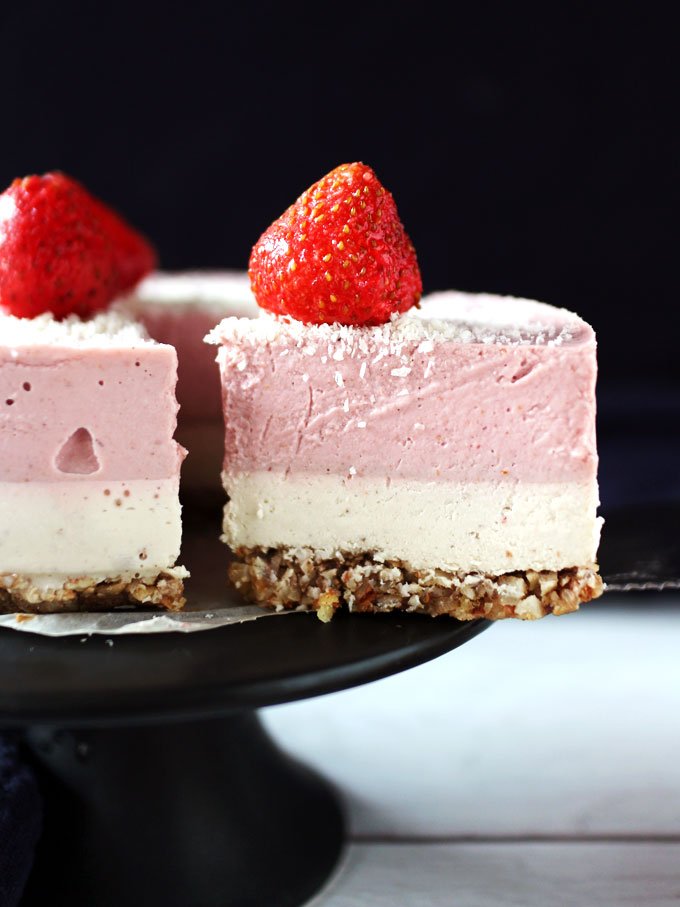
應該可以從剖面看得出來,它真的凝固的非常好。
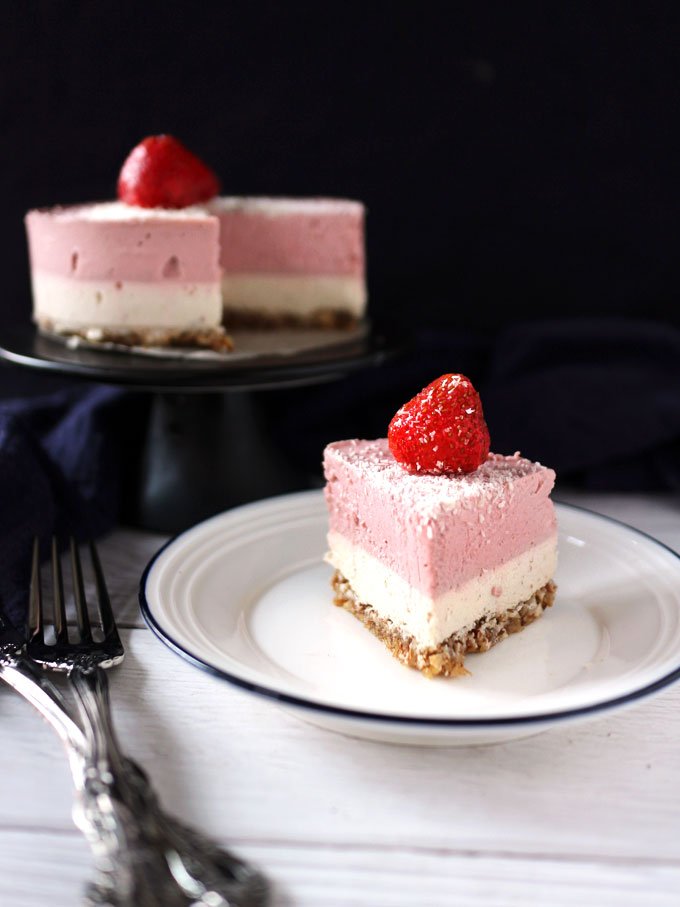
然後…這也是難得我第一塊就切得這麼乾淨,先前常常切第一塊時剖面會沾點東西。
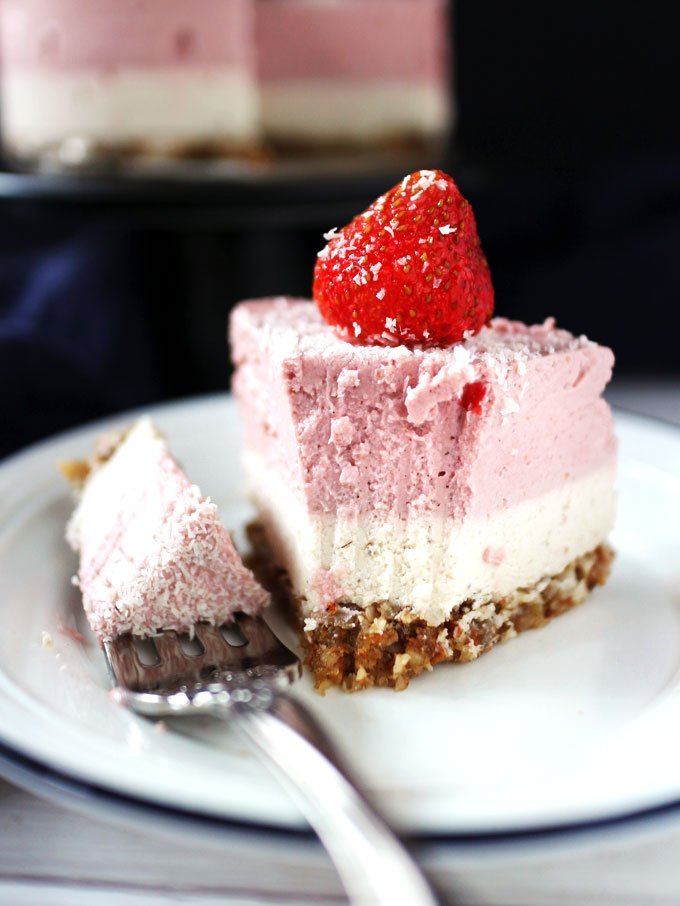
這個全素草莓乳酪蛋糕的底層主要是由堅果與種籽組成,無另外添加糖與油;上層的草莓層酸甜味不會太高,但還是能吃到那適中的莓果微酸甜滋味,口感緊實,上層帶點Q彈感,下層則非常濃郁。
乳酪的部份有添加些許楓糖漿,如果你了解我,應該知道我不愛吃太甜,所以糖量不並高;這次也沒有使用椰子油,而是用可可脂,增加整體的化口感。
這款蛋糕在製作完後強烈建議不要放冷凍,因為草莓層結凍後再解凍口感會有變,最好就是放冷藏。因為有莓果的加入,那酸酸甜甜的草莓味讓整體吃起來更不膩,我相信它應該不會待在你冰箱太久的!
來動手做吧! Let’s do this!
(※ 可延伸但勿直接複製內文,並請註明出處與原文網址 ※)
全素草莓雙層乳酪蛋糕 (無麩質,免烤)
Vegan Strawberry Layered Cheesecake (No-Bake)
作者 Author: 桶子葉 Barrelleaf / Nora Hsu
參考改自 Adapted from: Lazy Cat Kitchen
- 食譜 單位標準&換算+常見問答集: Recipe Measurement+ FAQ
- 特別器具 Special equipment:
- 一個 6 吋 (15 公分)分離式蛋糕模
- 一台食物處理機
- 一台高速食物調理機
- A 6″ (15 cm) cake pan with a loose bottom
- A food processor
- A high-speed blender
食材 :(約 6 – 8 人份)
- Ingredients:(Serves: 6 – 8)
- For the base
- 25 g almond
- 10 g walnuts
- 15 g sunflower seeds
- 15 g pitted dates
- A tiny pinch of salt
- A small dash of water, if needed
- For the filling
- 60 g raw cashews, soaked in water for 4 – 6 hours
- 120 ml full-fat coconut milk
- 1.5 Tbsp maple syrup
- 2 Tbsp cacao butter, melted
- A pinch of salt
- 1/4 tsp lime juice or lemon juice
- 60 ml aquafaba (chickpea brine, see Note*)
- 1 tsp agar agar powder
- 100 g frozen strawberries, defrosted
- For the base
- 準備工作 Preparation:
- 食材秤量好
- 模具底層鋪烘焙紙
- Measure all ingredients.
- Line the bottom of the pan
- 作法/步驟:
- 製作底層:將椰棗放入食物處理機中,攪打切碎,再加入其它底層食材,攪打至整體細碎,用手指捏混合物能成團,若太乾,再加些許飲用水攪打,幫助混合物可黏成團
- 將底層混合物鋪入模具底層,鋪平壓緊,放入冷凍備用
- 製作起司層:將浸泡過的生腰果瀝掉水份,再用飲用水稍微清洗一下
- 將腰果與椰奶、楓糖漿、融化的可可脂、鹽,與檸檬汁放入食物調理機中,攪打混合至滑順
- 取出置於冷凍的模具,將起司層混合物倒一半於模具中,鋪平、搖晃使表面平均,再放回冷凍至少 30 分鐘,至起司餡層凝固。剩餘一半的起司餡混合物先留在調理杯中備用
- 將鷹嘴豆水與洋菜粉置於小鍋中,用中火邊煮邊攪拌煮至沸騰,讓它滾約 10 – 15 秒,熄火
- 接著動作要快速,將煮過的鷹嘴豆液與草莓加入於攪拌杯內另一半的起司餡混合物中,用調理機攪打至滑順
- 取出冷凍的模具,將草莓起司層混合物倒入模具,同樣鋪平、搖晃,並將模具輕敲桌面數次、敲出氣泡,
- 將蛋糕封蓋好,放入冷藏 6 – 8 小時,至整體完全凝固
- 取出脫模,可像我再加上草莓與椰蓉點綴,或其它你想加的東西,切塊享用
- Directions:
- To make the base: Add the pitted dates to a food processor and chop them. Then add other base ingredients and continue to process until all are finely chopped and the mixture can stick together when press between your fingers. If the mixture is too dry, add a small dash of water and process again to help to bind.
- Press the base mixture to the bottom of a lined pan. Place in the freezer while we make the filling.
- To make the filling: Drain out the water from the soaked cashews and give a rinse.
- Add the cashews, coconut milk, maple syrup, melted cacao butter, salt, and lime juice into a blender and blend until smooth.
- Take out the pan from the freezer and pour half of the filling mixture onto the base. Smooth the top and wiggle the pan to let the mixture even out. Return the mold to the freezer for at least 30 minutes until it set. Leave the remaining filling mixture int the blender for later use.
- Add the aquafaba and agar agar to a small pan over medium heat. Cook and stir frequently until it bubbles. Let it boil for 10 – 15 seconds and turn off the heat.
- Then we need to move fast. Add the aquafaba liquid and strawberries to the remaining filling mixture in the blender container and blend again until smooth.
- Take out the pan from the freezer and pour the strawberry cheesecake mixture onto the set cheesecake layer. Spread the mixture evenly and gently drop the pan against the counter to remove air bubbles.
- Cover and refrigerate it for 6 – 8 hours until completely set.
- Remove from the pan. You can decorate it with more strawberries and desiccated coconuts like me or anything you feel right. Slice and ENJOY!
- 註
- *鷹嘴豆水:鷹嘴豆罐頭內的液體,或是自行煮鷹嘴豆剩下的水
- 保存:剩下的密封冷藏保存,約可放 5 天
- Notes
- *Chickpea bring: The liquid in the canned chickpeas or the water left from cooking chickpeas
- Storage: Store the leftover in the fridge for around 5 days.
