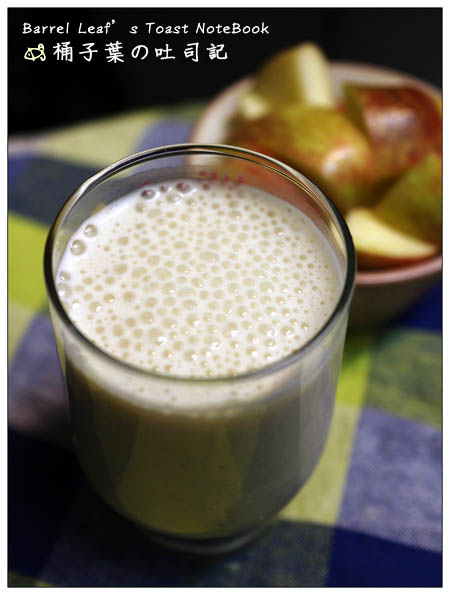
先前就有分享過 自製杏仁奶 這一樣純素的牛奶替代品。杏仁的味道不重,所以製作出的杏仁奶堅果味並不明顯,想想,有杏仁奶,應該也可以利用其它堅果來製作,於是某天就用了核桃,而且這次特別加了一個步驟,就做出更有風味的 自製核桃奶。
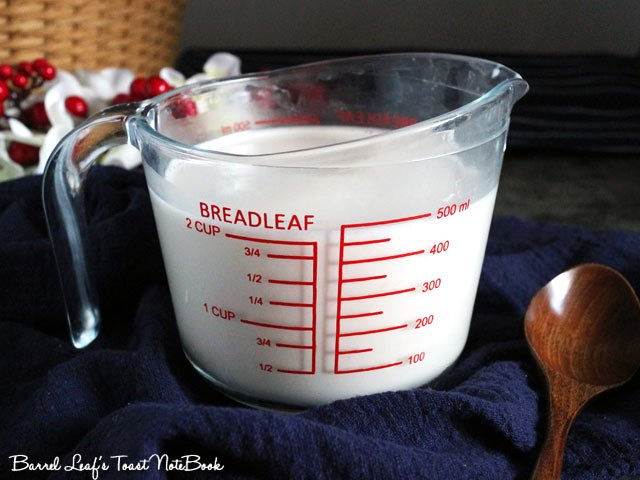
自製核桃奶
Homemade Walnut Milk
核桃奶與杏仁奶的製作方式相同,成品外觀也近似,都是淡淡的米奶色,但核桃本身的堅果味比杏仁味明顯一些,製作出的核桃奶相對下也讓我覺得更有風味。讓我自從製作過核桃奶後,還真的就比較少做杏仁奶了。(笑)
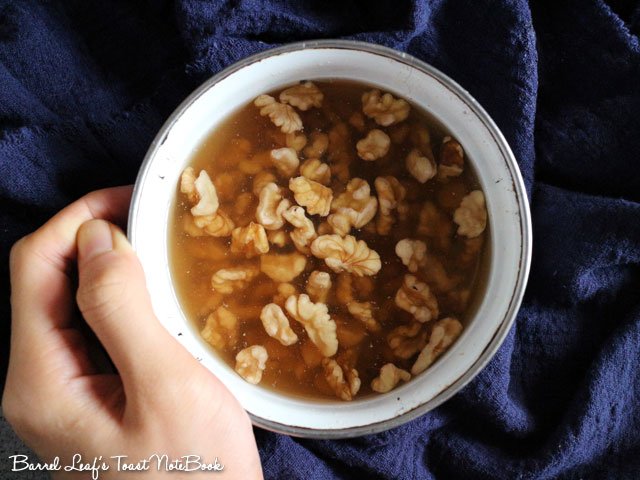
浸泡 Soaking – 簡單卻重要的步驟
Easy Yet Important
浸泡是第一個步驟,就是將核桃浸泡於飲用水中 4 小時。這個步驟非常簡單,但也非常重要,因為浸泡過的堅果不僅對你的果汁機/調理機較友善,也能讓人量更好消化吸收。
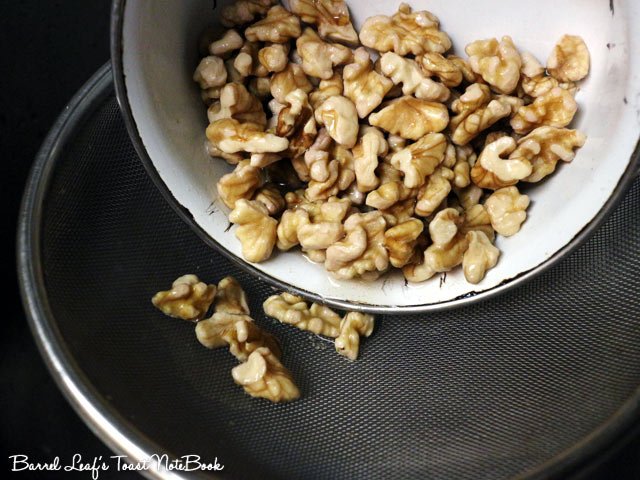
接著再把核桃瀝乾,浸泡過後的核桃明顯長大了一些。
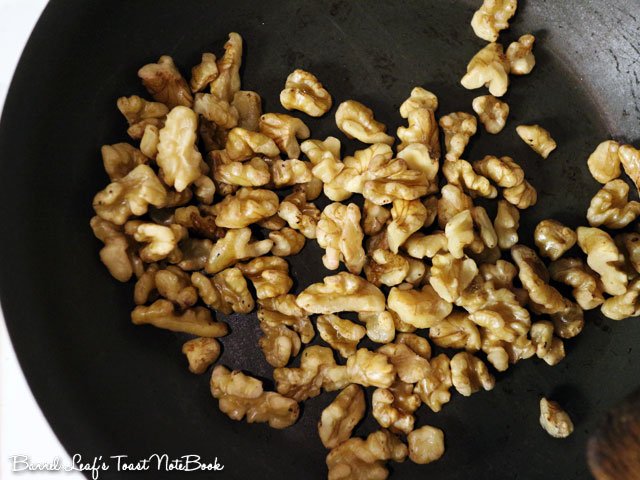
非必要但我喜歡增加的步驟
Optional But the Step I like to Add Flavor
接著這個步驟是非必要、但我自己喜歡加的步驟:翻炒,用意是把核桃炒出香氣,這樣製作出的核桃奶會更有風味。我覺得我會喜歡是因為我非常愛核桃,但如果你不像我那麼喜歡核桃味的話,就將這個步驟省略無妨。
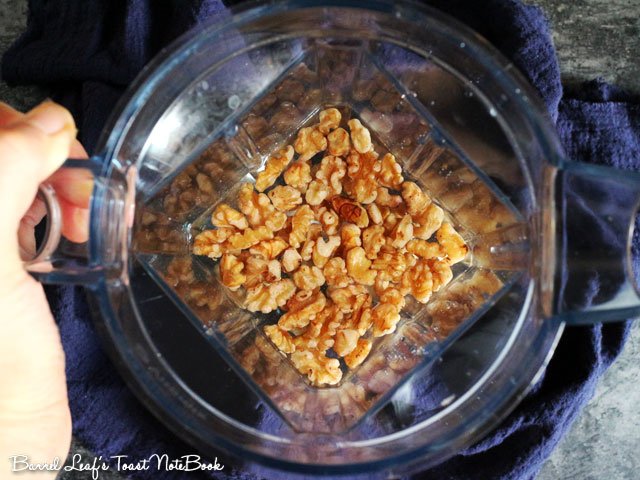
你需要一調果汁機或食物調理機
You Need A Blender
接著就是交給機器工作的時刻了。將核桃與飲用水一同放入攪拌杯中攪打混合均勻。
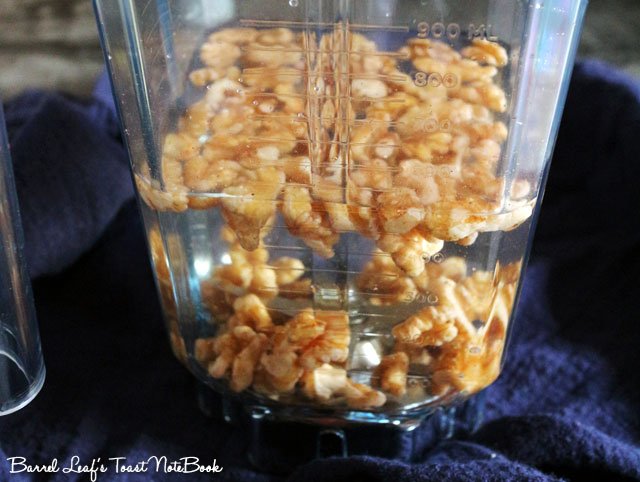
水量的部份約是核桃的 4 – 5 倍,建議可以先用 4 倍水量來打,再嚐看看滋味,如果覺得太濃再加水。
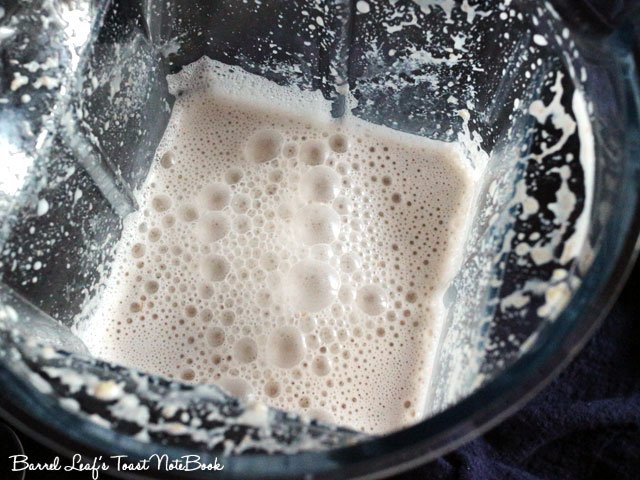
我是用先前才買的 Vitamix,算是較高階的食物調理機,打出來的核桃奶已經算很細緻,如果你是用一般的果汁機的話,打出來可能顆粒就會比較粗大。

接著就有點像製作豆漿,要再將攪打好的核桃奶過濾。
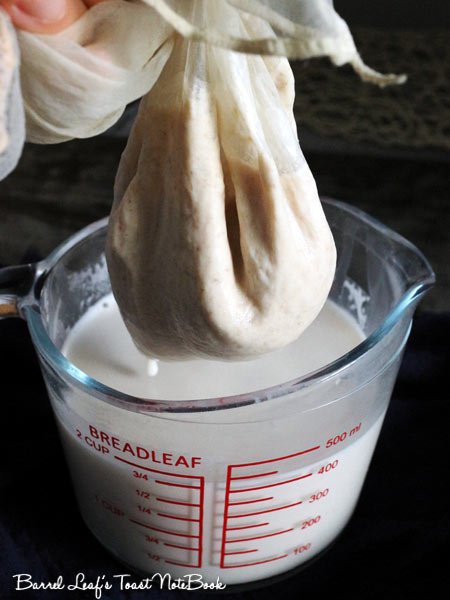
擠出你的「核桃奶」!
Squeeze Out Your Milk!
接著也是要出動萬能的雙手~擠啊擠。

這樣就完成嘍!

製作好的核桃奶也有比杏仁奶明顯一些的香氣。製作好的核桃奶就可以取代食譜中的杏仁奶與某些食譜中的牛奶。
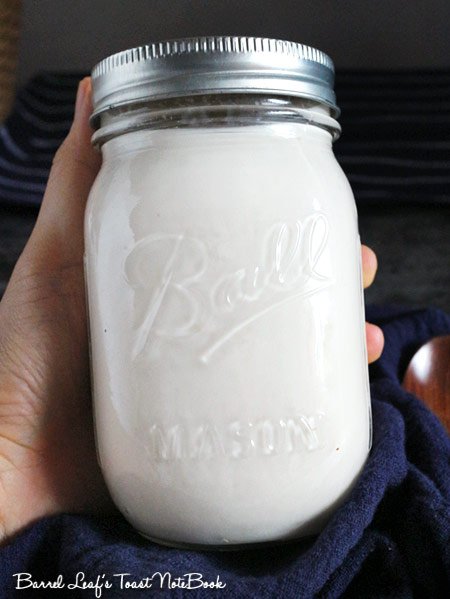
我喜歡把打好的杏仁奶放在密封罐中保存,約可以放 3 – 4 天,有時候可以放到 5 – 7 天,但因為自己製作的沒添加什麼東西,建議還是在 4 天內飲用完畢。
(※ 可延伸食譜但請勿直接複製內文,並請註明出處與原文網址 ※)
自製核桃奶
Homemade Walnut Milk
作者 Author: 桶子葉 Barrelleaf / Nora Hsu
食譜 單位標準&換算+常見問答集: Recipe Measurement+ FAQ
- 特別器具 Special equipment:
- 一台高速食物調理機
- 一個豆漿/起司濾袋
- A high-speed blender
- A cheese bag
食材 :(約 500 ml)
- 核桃 125 ml (1/2 cup)
- 飲用水 適量 (浸泡用)
- 飲用水 500 ml (2 cups)
- 鹽 1 小撮 (提味用)
- 非必要:你喜歡的糖或糖漿
- Ingredients:(Yield : about 500 ml)
- 125 ml (1/2 cup) walnuts
- Drinking water (for soaking)
- 500 ml (2 cups) drinking water
- A tiny pinch of salt (to bring out the flavor)
- Optional: any sweetener you like.
- 作法/步驟:
- 將核桃浸泡於飲用水中 4 小時,之後濾乾水份
- 非必要步驟:將濾乾水份的核桃用平底鍋(不用放油)以小火炒香
- 將核桃與飲用水 (500 ml)以及 1 小撮鹽放入調理機中,攪打混合均勻
- 在一大容器(我常用大的量杯)上頭放上濾袋,將攪打混合均勻的核桃奶倒入濾袋中濾渣*,用手幫助盡可能擠出所有的核桃奶即完成。如果想喝甜,可以加你喜歡的糖。
- Directions:
- Soak the walnuts in drinking water for 4 hours, then drain out the water.
- Optional step: Toast the soaked walnuts on a frying pan over a low heat until the walnuts have the “toasted” flavor.
- Blend the walnuts, water (500 ml), and a tiny pinch of salt in a blender until smooth.
- Place the cheese bag over a bowl or cups. Pour the blended walnut milk into the bag to strain out the coarse granules (which is called “pulp*”). With your hand, do your best to squeeze out all the milk. Your nut milk is done! Feel free to sweeten your milk depending on your taste.
-
- 註
- Notes
- About the leftover pulp: The “pulp” can be saved for other recipes. You can also dry them in the oven and add into your granola or breakfast bowl.
- Storage: Store the milk in an air-tight container in the fridge. It could last about 3 – 4 days.
- Other Dink recipes: Homemade Almond Milk , Matcha Milk, Hot Chocolate
- More Vegan recipes: HERE
- More Sugar-Free recipes: HERE
- My Tools, Equipment & Ingredient List: HERE
- This page contains affiliate links, which supports me with a small commission to produce more great content on this site at no additional cost to you. Thank you for reading and supporting Barrel Leaf.
© barrelleaf.com 網站內所有內容與圖片均受版權保護。未經允許請勿使用。

Happy blending!
製作日:2017.11.07
延伸閱讀 Related Articles – 核桃奶應用
You Might Be Interested …
🔽 新創 FB社團,歡迎大家加入 🔽
『自然飲食小廚房 Healthy Clean Kitchen』
【桶子葉の吐司記 Barrel Leaf’s Toast NoteBook】
[ Facebook.Instagram.YouTube.About Me ]
