Read the post in:
 繁體中文
繁體中文
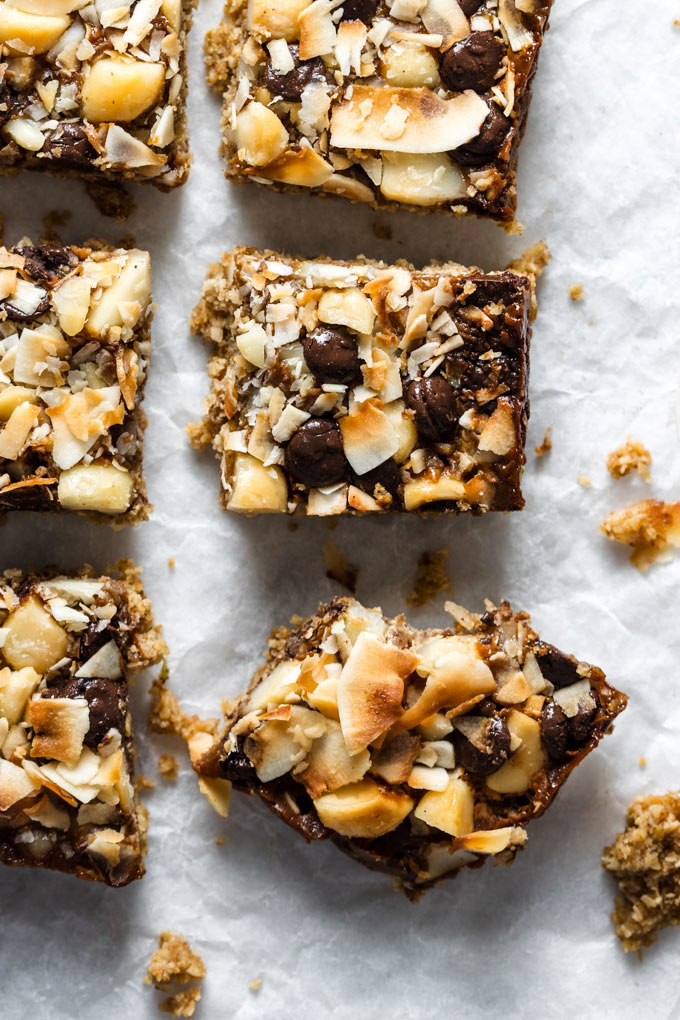
Chunky macadamia and melted chocolate with a sweet caramel layer and nutty base, these Vegan Chocolate Macadamia Magic Bars are perfect desserts that will satisfy your sweet tooth!
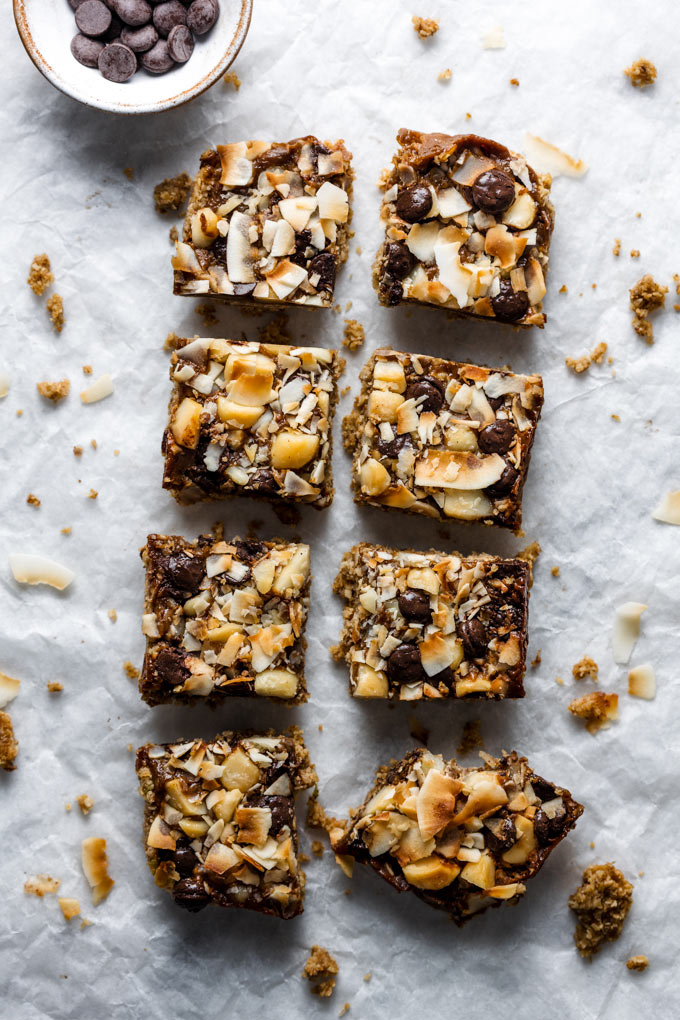
To be honest, I didn’t know magic bars until a month ago. (I’m a Taiwanese, sorry!) But the point is, I know now. And after tasting them, I think I know what they are called “Magic” bars because they really taste like a wonderful treat! And today I’m sharing one delicious recipe inspired by Bakerita.
It’s made with a nutty base, not-very-sweet caramel, and tasty macadamia nuts and chocolate chips. You know it can’t go wrong.
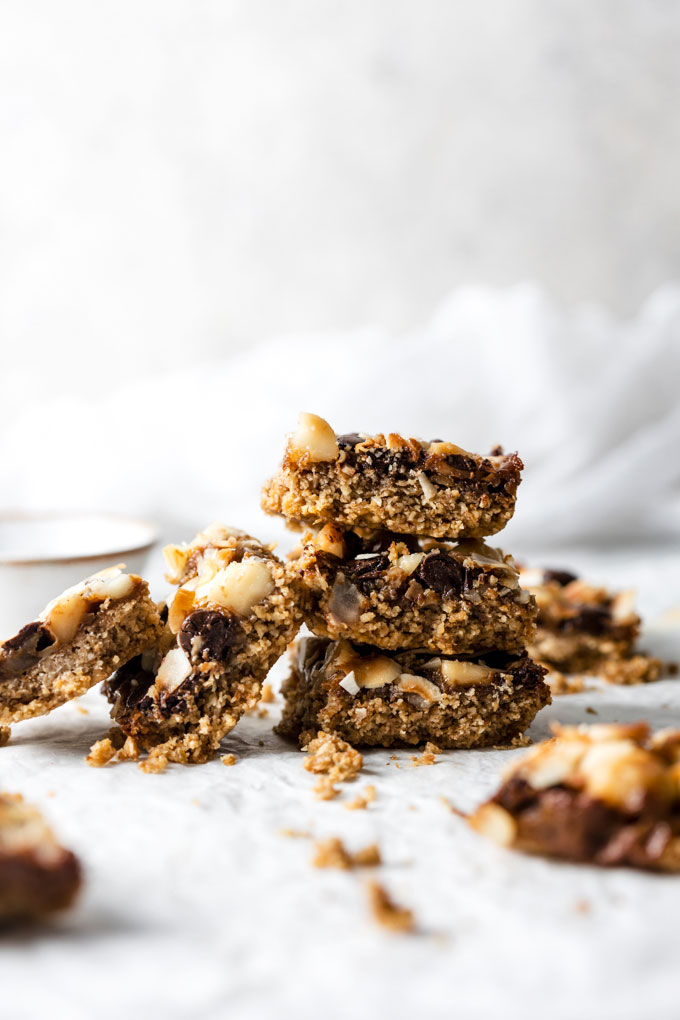
Ingredients You Need
Because these bars got three layers, you’re going to need a little bit more ingredients than usual.
- Full-fat coconut milk
- Coconut sugar
- Vanilla extract
- Walnuts
- Rolled oats
- Desiccated coconut
- Lime zest
- Salt
- Ground flaxseed (linseed)
- Cacao butter (subsitutions mentioned below)
- Dark chocolate chips
- Macadamia nuts
- Coconut flakes
How to Make Chocolate Macadamia Magic Bars
I know the ingredient list is a little bit long (just a tiny bit, right?), but don’t worry. It’s actually not complicated.
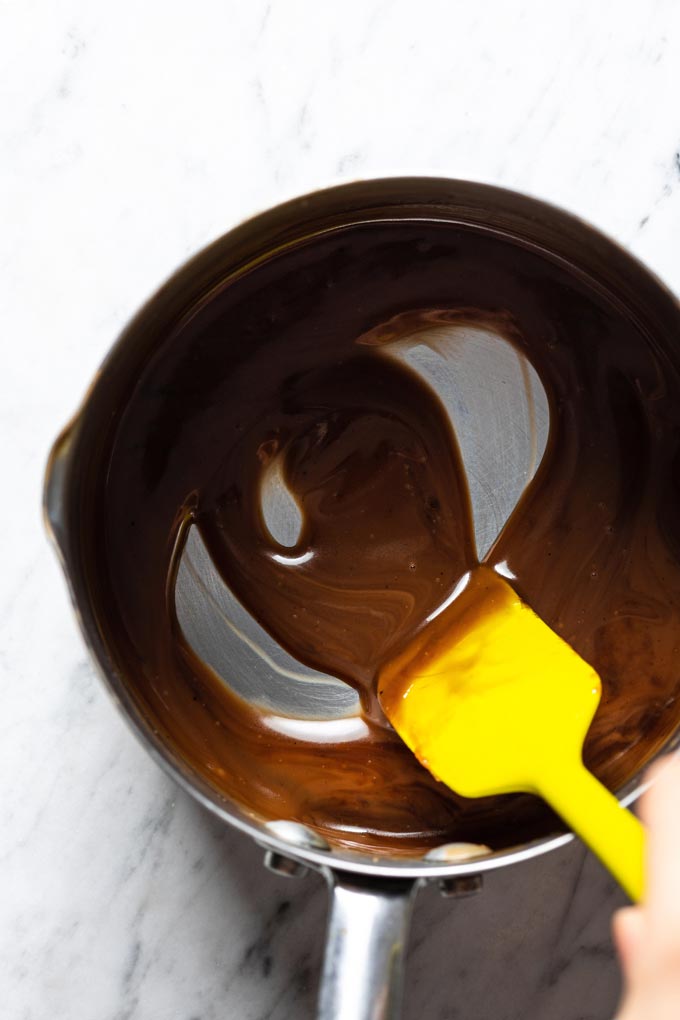
First, we need to make the caramel by cooking coconut milk, coconut sugar, and vanilla extract in a small pot. Cook and let it simmer until it’s thickened. This step will take a while, about 7~10 minutes. But you can make the other part while it’s cooking.
Then we’re going to put the base layer together simply by blitzing walnuts, rolled oats, desiccated coconut, lime zest, salt, and ground flaxseed in a food processor. Then mix in the melted cacao butter, transfer the mixture into a lined 8″ loaf pan, and press down firmly.
After that, we just need to put it all together by pouring the caramel on top of the base and spread it out evenly. Add the toppings, and bake!
How long will it take to make these magic bars?
Plus the baking time, I’ll say it will take 50~60 minutes from start to finish. Once it’s done, it’s best to let it cool in the pan for a while because it’s a bit fragile right out from the oven. It’s also a good idea to put them into a fridge for a while if you want to have a clean cut.
How to Store Magic Bars
If you’re living in a cold-weather country, you can store them in a container at room temperature for about 3 days. But I always put them in an air-tight container in the fridge for better storage. They will be fine for 5~7 days. You can also put them in the freezer if you want to save them for a longer period of time.
Questions You Might Have
Are there other substitutions for cacao butter?
I use cacao butter because I like the taste and the delicate texture it creates, but I know it’s not the easiest thing to find. So if you don’t have it at hand, you can use coconut oil or vegan butter as well. The texture will be slightly different though.
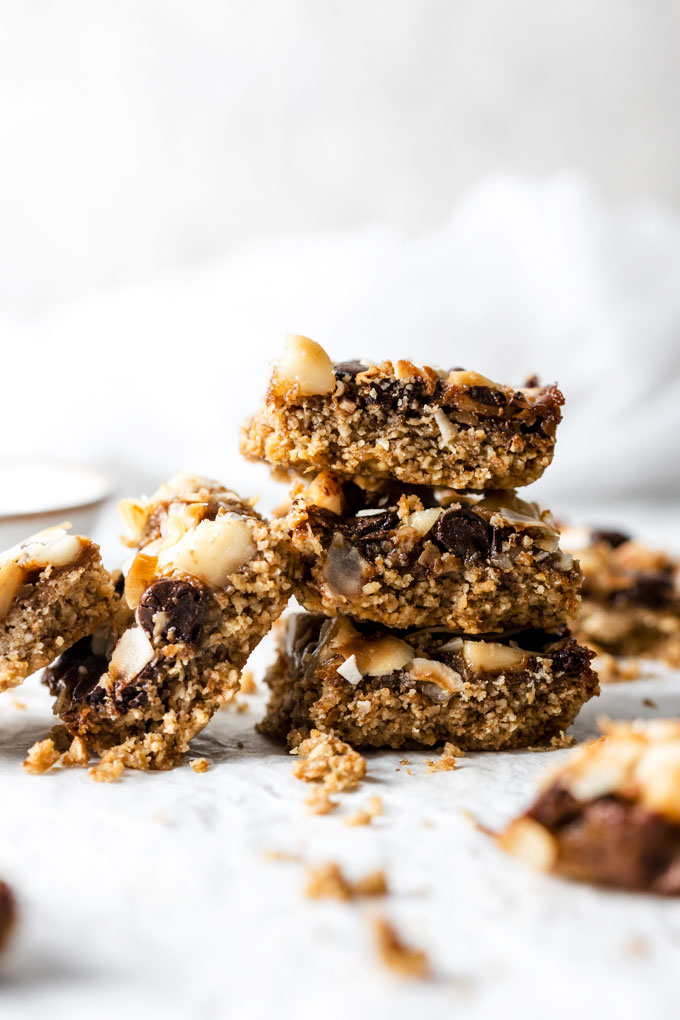
I don’t like things very sweet so even though there is a caramel layer in them, they are not very sweet (trust me!). I hope you will love these magic bars as much as I do. And if you have other questions or thoughts, let me know by leaving a comment down below!
Vegan Chocolate Macadamia Magic Bars
Ingredients
Caramel
- 180 g full-fat coconut milk
- 3 Tbsp coconut sugar
- 1/8 tsp vanilla extract
Base
- 50 g walnuts
- 50 g rolled oats
- 2 Tbsp desiccated coconut, (22 g)
- 1 tsp lime zest
- 1/4 tsp salt
- 1/2 Tbsp ground flaxseed
- 2.5 Tbsp cacao butter, (18 g) melted*
- 1/2 Tbsp drinking water
Topping
- 20 g vegan dark chocolate chips, (2 Tbsp)
- 40 g macadamia nuts
- 8 g coconut flakes, (2 Tbsp)
Instructions
- Preheat the oven to 180 C / 350 F. Line an 8″ loaf pan with parchment paper.
To make the caramel layer:
- Add coconut milk, coconut sugar, and vanilla extract to a small pot over medium heat. Cook and stir to make sure the sugar is dissolved.
- Continue to cook for about 7~10 minutes until it’s thickened, stir every now and then. It should look just like regular caramel with a coconut aroma. You can make the base while cooking it. Once it’s thick enough, turn off the heat and set it aside for later use.
To make the base:
- In a food processor, add walnuts, rolled oats, desiccated coconut, lime zest, salt, and ground flaxseed. Blitz them together until they look like wet breadcrumbs. Then add the melted cacao butter to the mixture. Use “pulse” a few times to mix in the cacao butter.
- Transfer the mixture into the prepared loaf pan. Use a spoon or spatula to press down the mixture against the pan. They should stick together.
To assemble:
- Pour the cooked caramel on top of the base. Spread it out evenly.
- Evenly sprinkle chocolate chips, macadamia nuts, and coconut flakes on top. Use a spoon or spatula to gently press the topping down a little bit so they can stick to the caramel.
- Bake in the oven at 180 C/ 350 F for 25~30 minutes until the caramel is set and the coconut flakes are a little bit brown on the edges.
- Transfer the pan to a wire rack to let it cool completely. Grab the sides of the parchment paper and lift it out from the pan. Cut into 8 squares and enjoy!
Notes
- *Cacao butter: You can use melted coconut oil or vegan butter instead. The texture might be slightly different.
- Adapted from Bakerita
- Storage: Store in an air-tight container in the fridge for 5~7 days or 2 weeks in the freezer.

