Read the post in:
 繁體中文
繁體中文
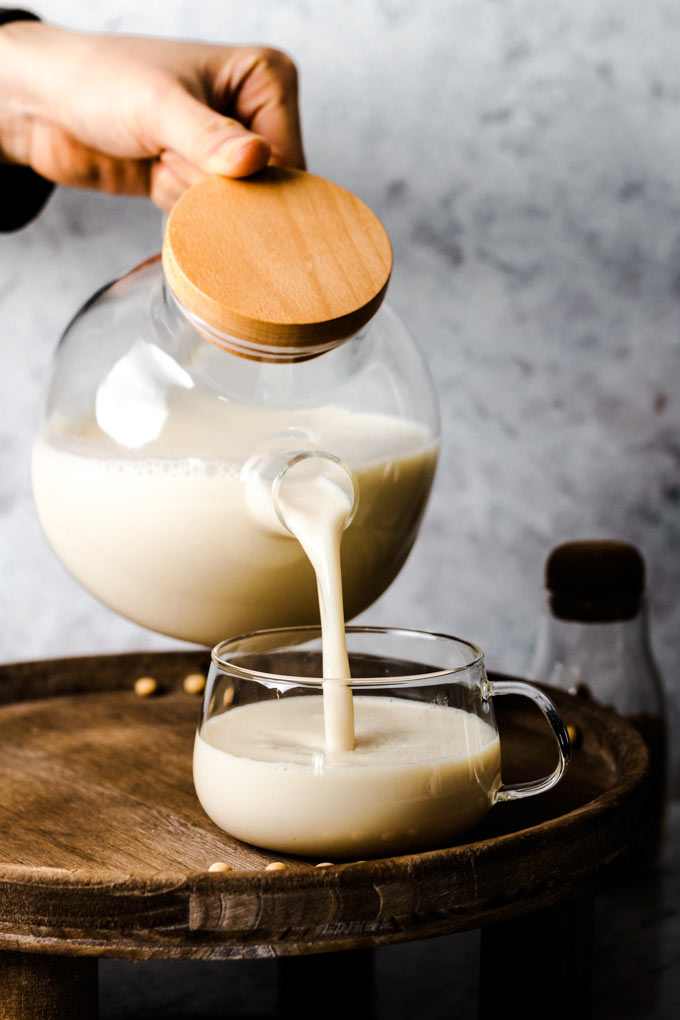
I’ve been drinking soy milk for as long as I can remember. Even though soy milk is quite common in most supermarket, I still feel that the homemade version is just different. It’s thicker and more rich in taste. And making soy milk only requires 2 simple ingredinets!
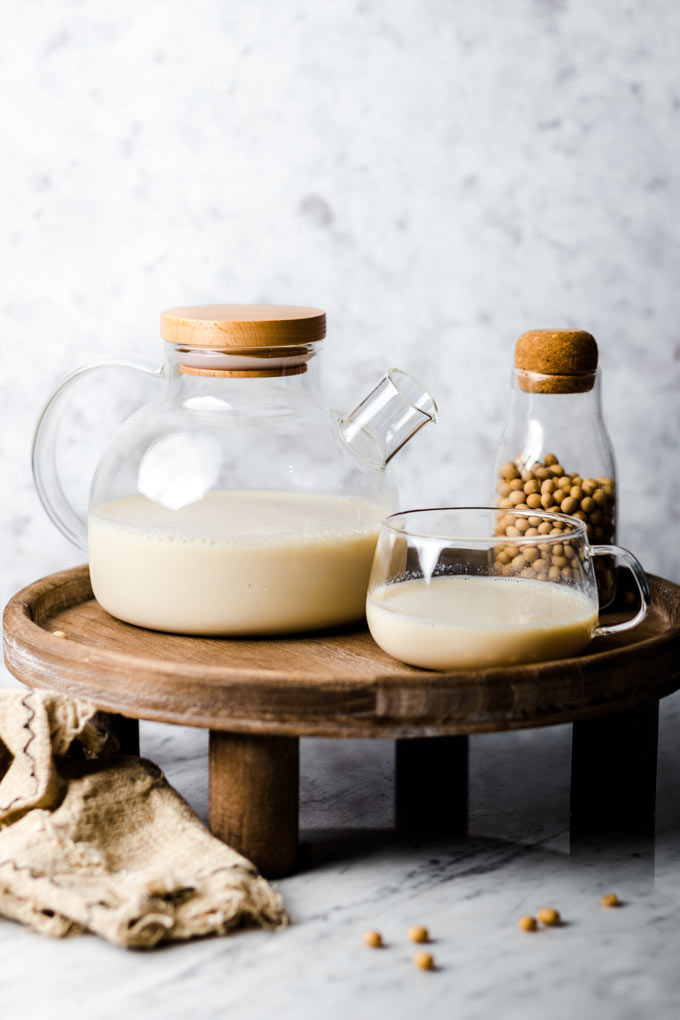
I’ve been loving soy milk since I was a kid. I remember that I always bought a carton of soy milk during the class break. The cold, smooth, creamy beverage made me so satisfied.
Fast forward to the time when I started to make my own food, soy milk is justifiable among the first few things I wanted to make.
It turned out that it’s not really hard, but the devil is in the details. And I’ve definitely learned quite a lot along the way. So today I’m going to share the recipe as well as my experiences on making soy milk, both using soy milk maker and using a pressure cooker and rice cooker from the scratch.

Me and the Soy Milk Makers
It’s around the time when the soy milk makers are just up in the market that I bought my first soy milk maker. It cost me about NT$1500.
I remember that I was so excited to make my first soy milk after I bought it. But after I tasted the first batch of soy milk I made, I found that it’s different from what I had expected. It tasted “raw.”
But I was a broke student so I just made do with it for about a year. And then, yes, it broke, I mean, it stopped working.
I even bike to the company and wanted to fix it, but then they said it’s the screen that broke and it’s better to buy a new one. So, I let it go.
I was thinking about buying a new soy milk maker. Yet considering the flavor is not what I adore and I was quite busy as a freshman, I ended up just buying store-bought soymilk.
Until I had more free time, I saw another soy milk maker was on sale and I wanted to give it a second try, so I bought my second soy milk maker. I still remembered that I curried a big box and walked for about 20 minutes to home.
Then I made soy milk with my second soy milk maker, gave it a taste, and found it’s still not what I wanted. So I sold it after a week and made my mind that I won’t buy another soy milk maker again. (But never say never?)
After that, I still wanted to make my own soy milk, so I went online and do quite a few searches. Then I found a Chinese post talking about using a pressure cooker to make the traditional soy milk taste.
I didn’t have a pressure cooker at that time and most pressure cookers were not cheap (you know, still a broke student). And then I was actually just ready to buy things from Taobao, so I bought a very cheap, small one for under NT$1000. And I still use it from time to time now.
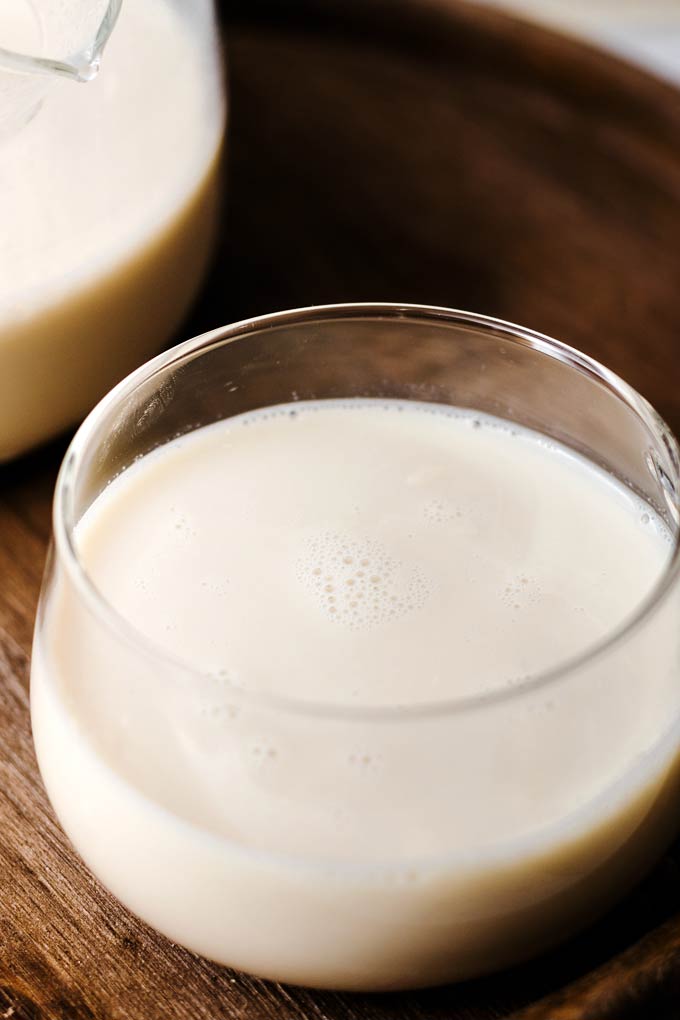
I remembered the first time I tasted the soy milk that made with a pressure cooker, my eyes were lightened up with joy and surprise. It’s really different! It didn’t taste raw. So I was so thrilled to share this recipe with you!
Also, I want to mention another fun thing I’m experimenting. That’s sprouting.
It’s totally optional, but I found that soy milk made from sprouted beans are even more delicious!
Let me walk you through the steps:
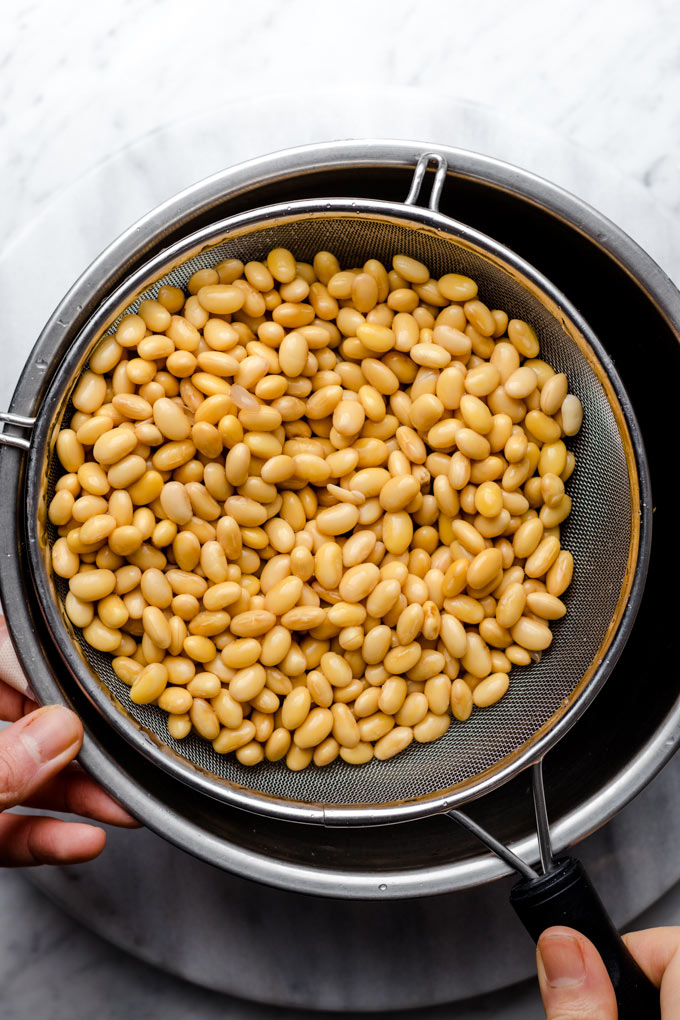
First, soaking.
It’s similar to making almond milk, but since it’s soy beans that we’re talking about, they need more time, around 8-12 hours.
I usually soak them before bed and make the soy milk the next day.
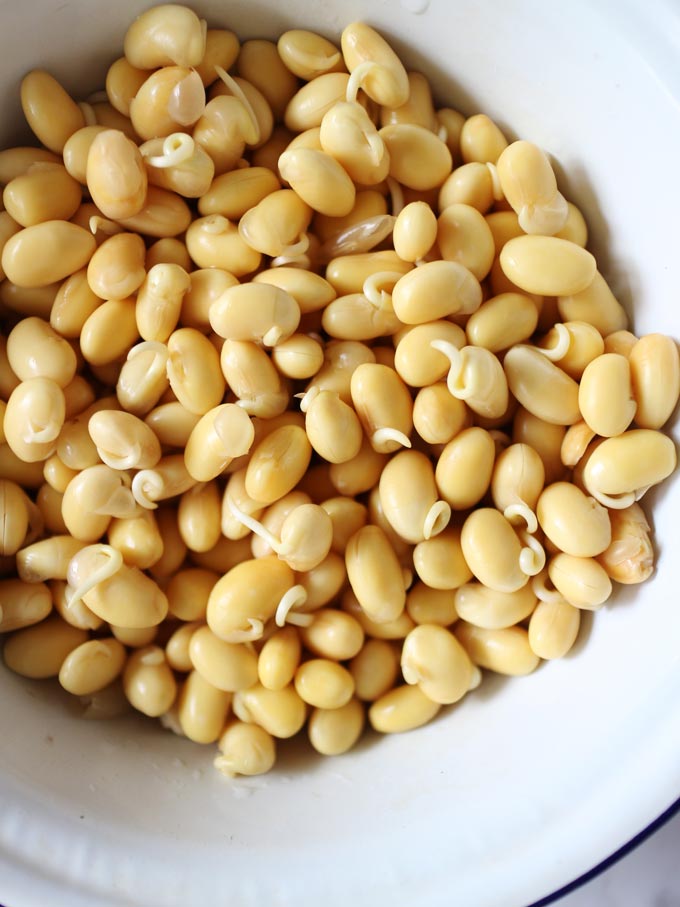
Optional, sprouting.
If you want to sprout the soybeans, it will take a little bit longer. After the first soaking, drain out the water and give the soybeans a rinse every 2-3 hours.
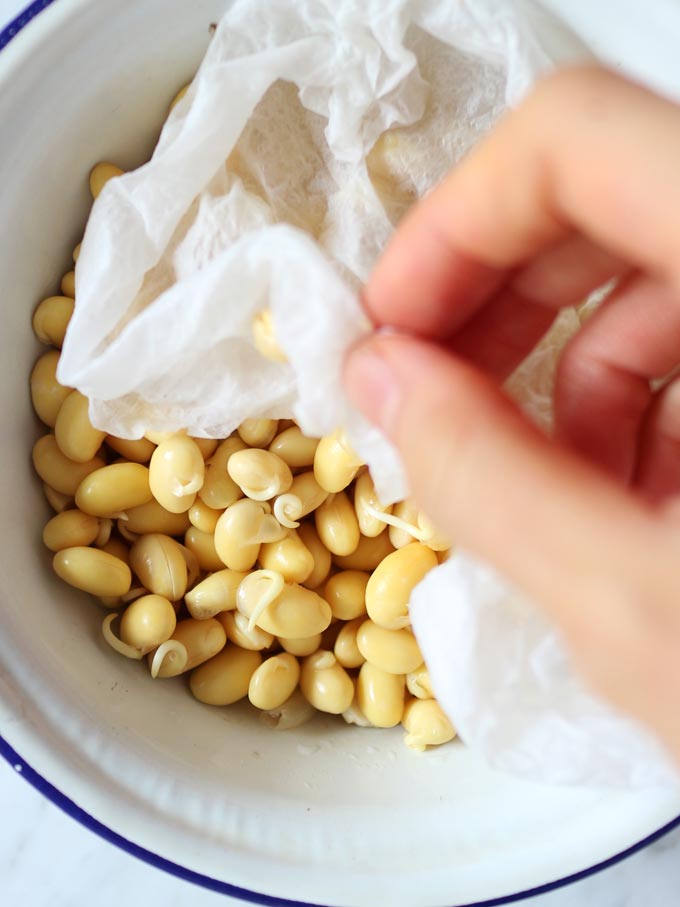
I found that you can place a wet kitchen tissue on top of the soybeans to accelerate the sprouting time. The soybeans should sprout in 1-2 days.
Some of you might have concerns about sprouting beans, so I have done some research online and found a few authoritative pieces of research prove the benefits of sprouting beans:
Since sprouting is a natural non-thermal non-chemical process it results in better quality-processed products like milk, tofu, and okara.
Effect of sprouting of soybean on the chemical composition and quality of soymilk and tofu by D. Agrahar Murugkar
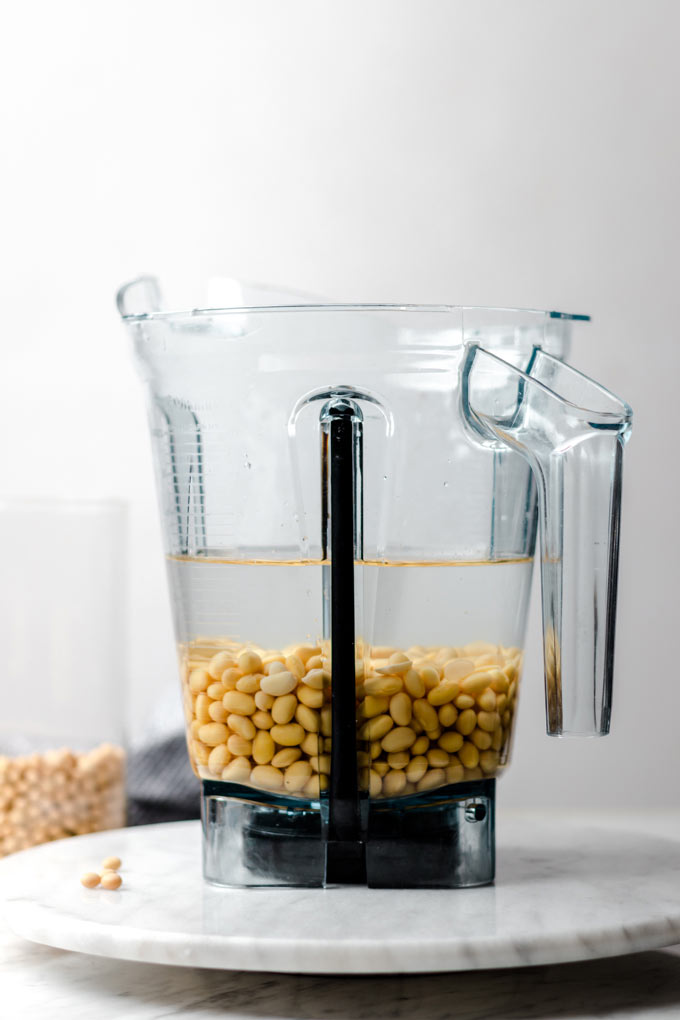
Then, blending
After soaking, drain out the water and give the beans a gentle rinse.
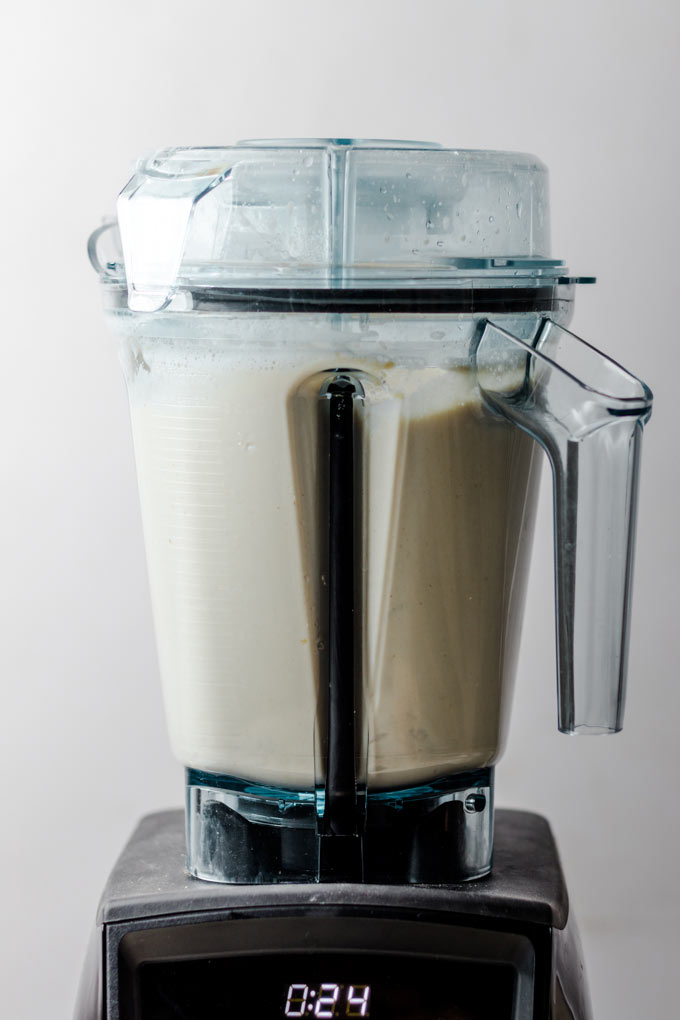
Add the beans to a blender along with some water. I usually use 1:5 (dry soybeans:water) ratio. You can adjust the ratio after you tried.
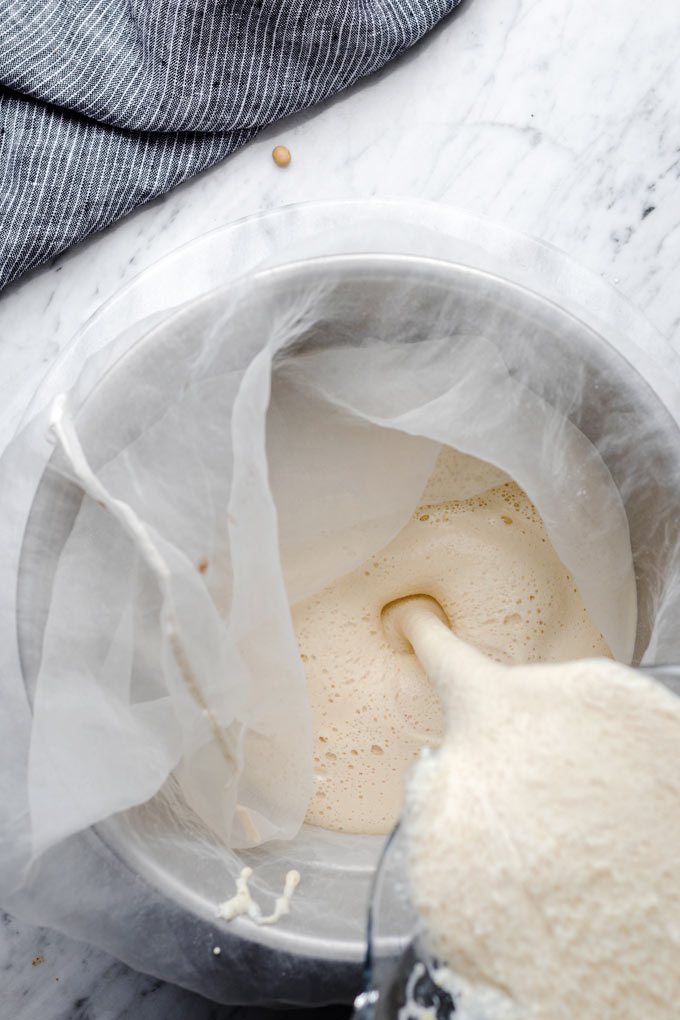
Sifting through a tea/nut milk bag
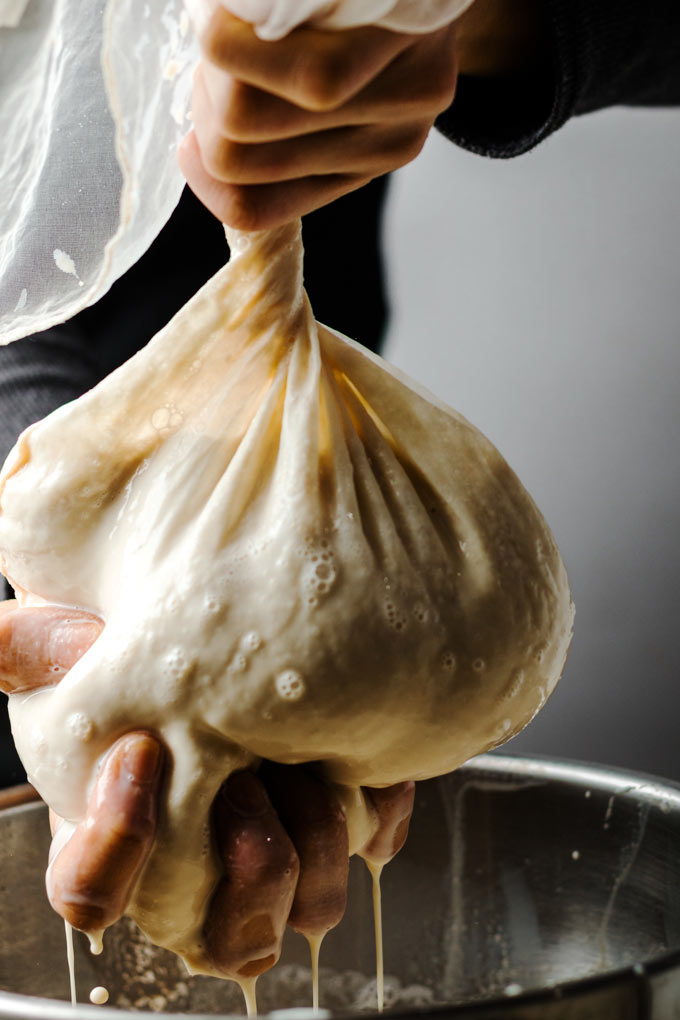
After blending, pour the soy milk mixture through a large tea bag or a nut milk bag to catch the pulp. Both of them I tried.
I first used the tea bag because it can be heated along with the soymilk to create more depth of flavor. But after a few months, I found that the tea bag will turn pretty dry and hard to use, so I use a nut milk bag now.
But the nut milk bag cannot be cooked with the soymilk, so make sure to squeeze the bag before cooking.
Some may ask… Do you have to remove the pulp?
I use Vitamix so the final texture is quite smooth. Some people say they don’t remove the pulp because of the nutrients.
But I don’t like the pulp texture when drinking and I think it might be a little bit “too much” as an beverage. Plus, we usually remove the pulp from almond milk or other nut milk, why not soy milk?
Anyway, in the end, it all comes down to personal choice.
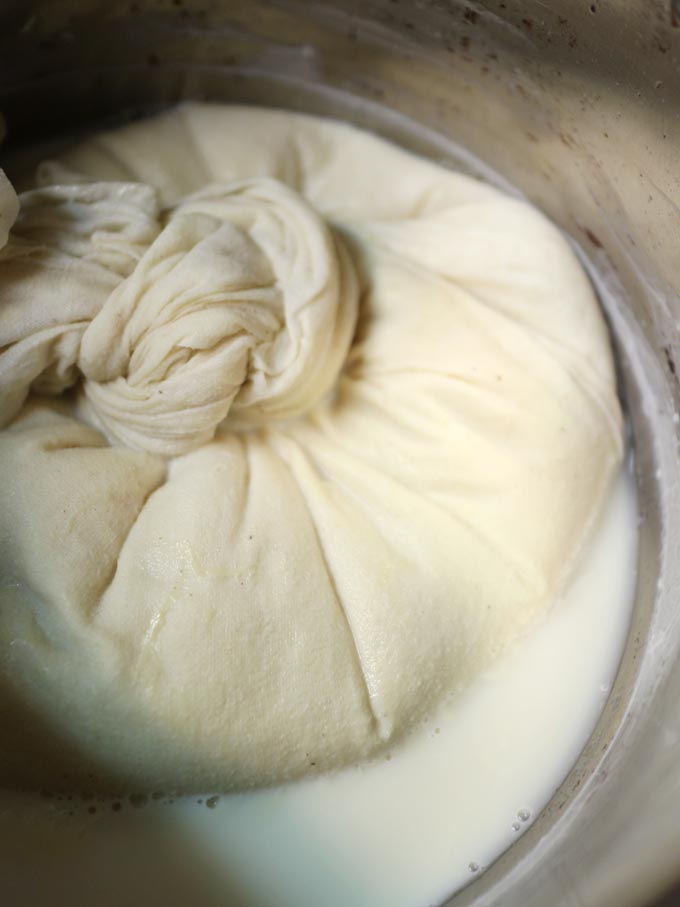
If using heat resistant tea bag >> can cook with the soymilk
After you pour the mixture through the sift, squeeze out the air from the tea bag and tight a nod. Let the pulp cook with the soy milk.
Because soy milk will bubble up a lot after boiling, keep in mind that the maximum should be 1/2 height of the pressure cooker.
If using a nut milk bag >> remove the bag before cooking
If you’re using a nut milk bag or a non-heat-resistant sift bag, squeeze out the milk from the bag and remove it from the pot before cooking it with a pressure cooker or traditional rice cooker. (Detailed steps down below)
Cook in a Pressure Cooker
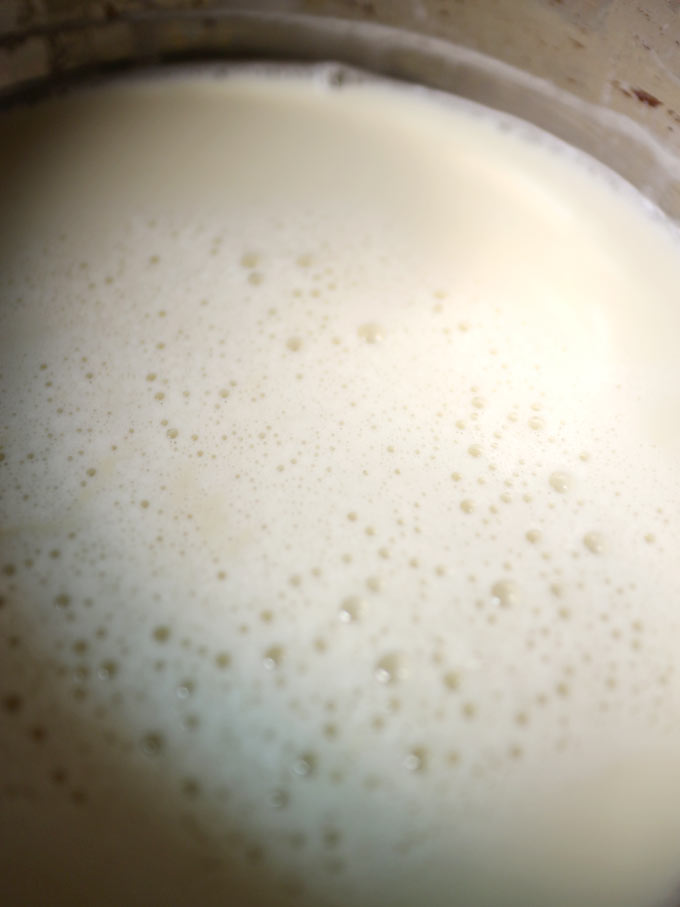
Cook over medium heat until the pressure cooker signals it reaching the pressure. Turn down the heat to cook for about 15 minutes.
After that, turn off the heat. Let it release the pressure naturally. I usually wait for a least an hour.
Then make sure the pressure is released. Open the lid and squeeze the tea bag if you cook with the pulp.
Cook in a Rice Cooker
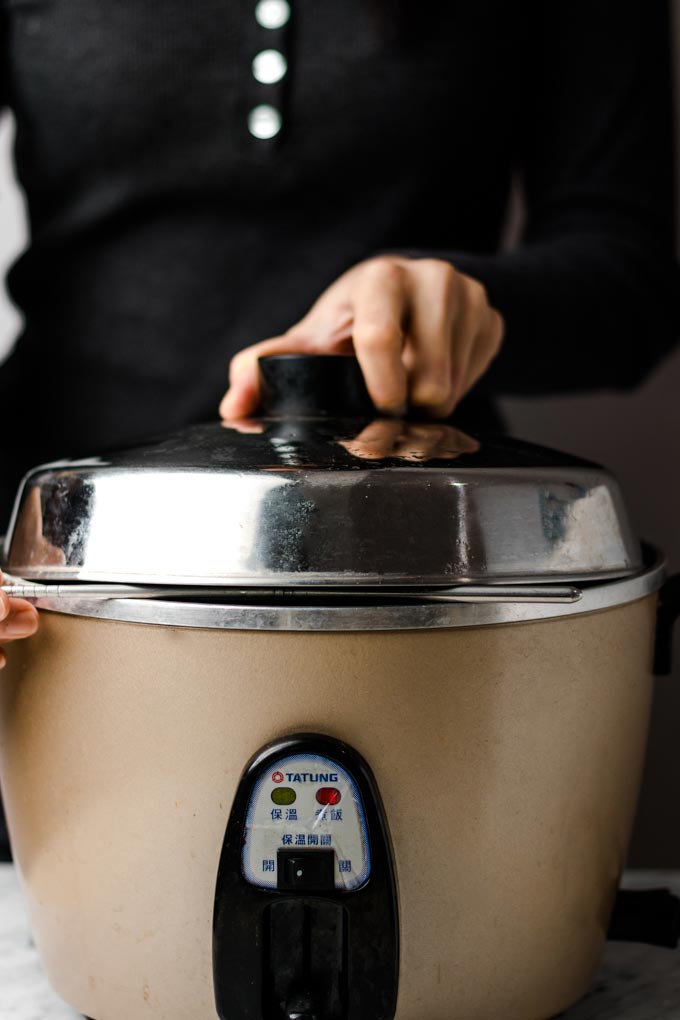
Add two rice cups (360 ml) of water to the outer pot or the rice cooker. Place the inner pot (containing soy milk) in the cooker.
Put the lid on with a stick of chopstick sitting between the lid and the cooker body to prevent the soy milk from filling out. Turn it to cooking mode. Once the cooker finishes cooking, carefully take the inner pot out.
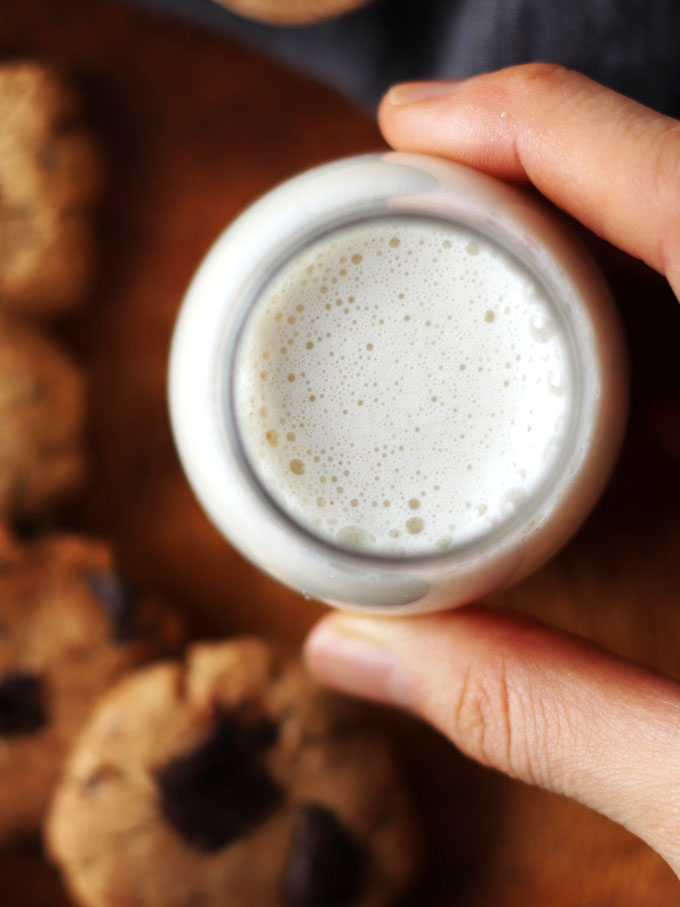
You can add sugar if you feel like. I usually drink unsweetened soy milk, but I also like to add soy milk to my coffee along with some cinnamon and coconut sugar to make a cozy cup.

How about the leftover soy pulp?
Don’t throw the pulp away. They are packed with protein, fiber, and nutrients. You can save them to make Vegan Okara Cookies, Vegan Soy Okara Granola, or Vegan Okara Meatloaf.
If you’re not going to use it within two days, store them in a bag and put them in the freezer. Defrost them before using.
How to Store Soy Milk
Pour the soy milk into a jar and let it cool down before storing in the fridge. It should last 3-6 days.

It might look like a lot of steps, but if you’re familiar with it, it’s actually quite easy and intuitive.
I hope you find this post helpful. If you’re interested in more recipes, here are:
- Taiwanese Sweet Peanut Soup
- Taiwanese Red Bean Soup (Instant Pot/Pressure Cooker)
- The Best Vegan Crunchy Oatmeal Cookies
Homemade Soy Milk
Ingredients
- 180 ml non-GMO soybeans
- 900 ml water
Instructions
- Soak the soybeans in water for 8 hours.
- Drain out the soaking water from the soybeans. Give them a rinse.
- Optional sprouting: Drain out the water and give the soybeans a rinse every 2-3 hours.*
- After soaking, drain out the water and give the beans a gentle rinse.
- Add the soybeans with 900 ml water to a blender. Blend until mostly smooth.
- Place a nut milk bag over a pot. Pour the soy milk over the bag into the pot.
If using heat resistant teabag >> can cook with the soymilk
- After pouring the mixture through the bag, squeeze out the air from the teabag and tight a nod. Let the pulp cook with the soy milk. Keep in mind that the maximum should be 1/2 the height of the pressure cooker or the pot.
If using a nut milk bag >> remove the bag before cooking
- Squeeze out the milk from the bag and remove it from the pot before cooking it with a pressure cooker or traditional rice cooker.
Cook in a Pressure Cooker
- Cook over medium heat until the pressure cooker signals it reaching the pressure. Turn down the heat to cook for about 15 minutes.
- After that, turn off the heat. Let it release the pressure naturally. I usually wait for a least an hour.
- Make sure the pressure is released. Open the lid and squeeze the tea bag if you cook with the pulp.
Cook in a Rice Cooker
- Add two rice cups (360 ml) of water to the outer pot or the rice cooker. Place the inner pot (containing soy milk) in the cooker.
- Put the lid on with a stick of chopstick sitting between the lid and the cooker body to prevent the soy milk from filling out. Turn it to cooking mode.
- Once the cooker finishes cooking, carefully take the inner pot out.
- Add sugar to season if you feel like it.
Notes
- *Sprouting: You can place a wet kitchen tissue on top of the soybeans to accelerate the sprouting time. The soybeans should sprout in 1-2 days.
- Storage: Store the cooled soy milk in an air-tight jar in the fridge for 3 days. As for the okara (soybean pulp), freeze them if you’re not going to use them in the following 3 days.

